
Introduction to Homemade Bread
Why Homemade Bread is a Game-Changer for Young Professionals
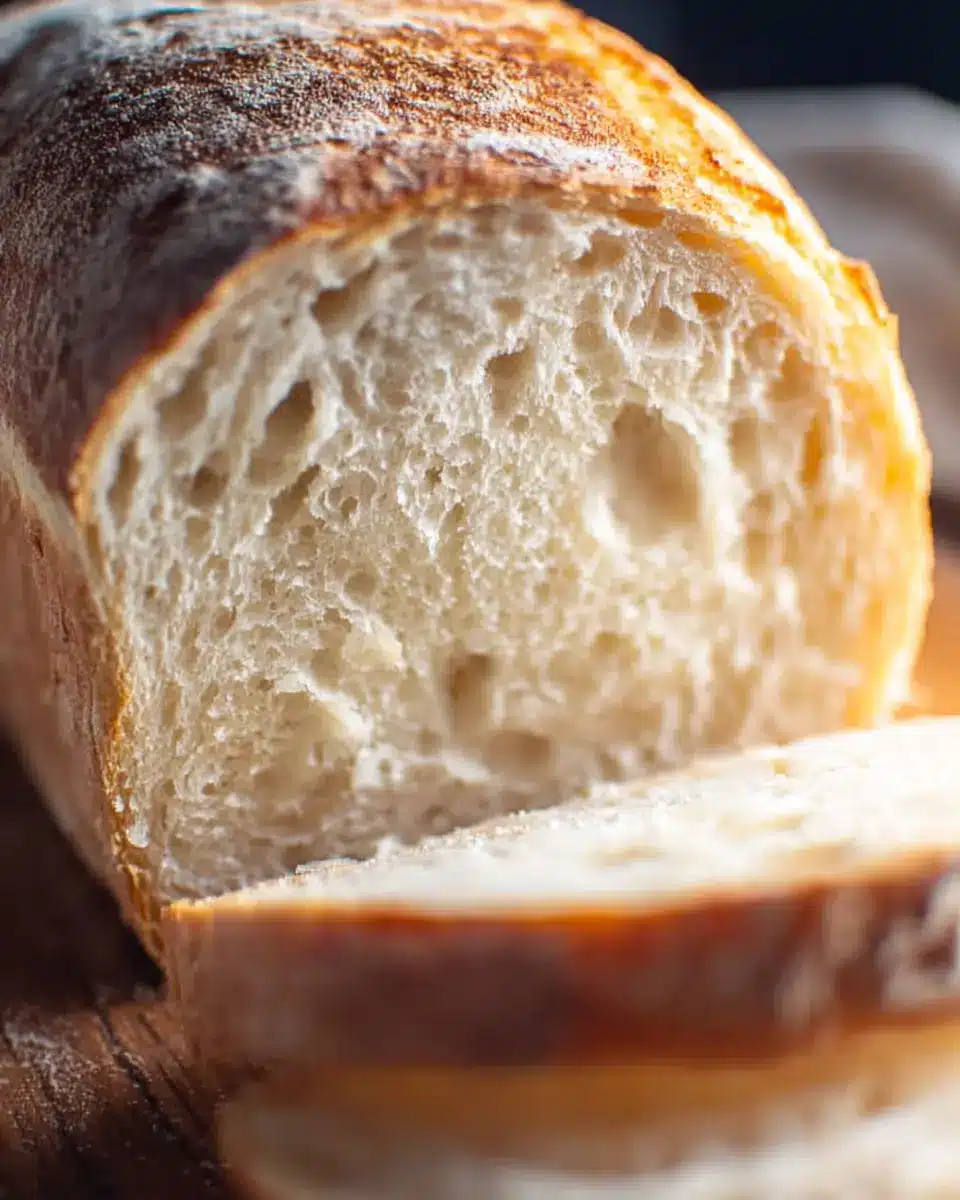
Are you a young professional juggling a busy schedule while trying to eat healthily? If so, homemade bread might just become your new best friend. Baking bread at home is not only a rewarding experience but also a way to take control of what goes into your food. Imagine walking into your kitchen to the warm, inviting aroma of freshly baked bread; it’s sure to brighten your day!
Buying artisanal bread or supermarket options can add up, and you may not always be certain about ingredients. With just a few basic ingredients—warm water, yeast, and flour—you can create delicious loaves that suit your taste and dietary preferences. Plus, studies suggest that baking bread can be a therapeutic process, reducing stress and making you feel more accomplished as you savor the fruits of your labor.
As you dive into this homemade bread recipe, you'll discover not only an affordable means of nourishment but also a delightful way to impress friends at your next gathering. Who wouldn't want to share the pleasure of homemade bread over a cozy dinner, or simply enjoy a slice with your favorite spread? Let's get started!
Ingredients for Homemade Bread
When it comes to making the perfect homemade bread, quality ingredients are key. Here’s a breakdown of what you need to get started on your baking adventure.
Essential Ingredients for the Best Homemade Bread
- Warm Water: About 2 cups (105-115°F) is ideal for activating the yeast.
- Active Dry Yeast: One tablespoon will give your bread the rise it needs. If you're curious about the science behind yeast, you might enjoy this insightful article.
- Honey/Sugar: Use either ¼ cup honey or sugar to sweeten your dough and feed the yeast.
- Salt: Just 2 teaspoons enhance flavor and control yeast activity. For a deeper dive into salt's role in baking, check out this resource.
- Oil: 2 tablespoons of canola or vegetable oil improve texture and moisture.
- Flour: You'll need 4 to 5 ½ cups of either all-purpose or bread flour. The choice affects texture—opt for bread flour for a chewier loaf!
Gather these simple yet vital ingredients, and you're on your way to baking delicious homemade bread that will impress your friends and family!
Preparing Homemade Bread
Making homemade bread is as rewarding as it is delicious! Whether you're a novice baker or a seasoned pro, these straightforward steps will help you create a loaf that flourishes with flavor and texture. Gather your ingredients and get ready to dive into the magical world of bread-making!
Step 1: Proof the Yeast
To kick things off, you’ll want to ensure your yeast is alive and kickin’! In a large bowl, combine 2 cups of warm water (105-115°F) with 1 tablespoon of active dry yeast and a pinch of either honey or sugar. Let this mixture rest for about 5-10 minutes until it becomes foamy and bubbly. If there’s no foam, your yeast may be inactive, and it’s best to start with fresh yeast.
Step 2: Mix the Ingredients
Once your yeast is proofed, add the remaining ingredients: ¼ cup of honey or sugar, 2 teaspoons of salt, 2 tablespoons of oil (canola or vegetable), and 3 cups of flour. Stir the mixture until combined, gradually adding more flour (up to 5 ½ cups total) until the dough pulls away from the sides of the bowl. It should feel smooth and elastic but slightly tacky to the touch.
Step 3: Knead the Dough
Now, it’s time to unleash your inner baker! Knead the dough for about 4-5 minutes using a stand mixer, or for 5-8 minutes by hand on a floured surface. The goal here is to create a nice, doughy consistency that’s not too sticky.
Step 4: First Rise and What to Expect
Transfer your kneaded dough into a greased bowl. Turn it to coat all sides in oil, then cover it with a kitchen towel or plastic wrap. Place it in a warm spot—this aids the first rise, which should take about 1 ½ hours or until the dough has roughly doubled in size. Expect it to puff up, indicating that the yeast is doing its job!
Step 5: Shape and Second Rise
Once risen, punch the dough down to remove excess air. Divide it into two equal portions and shape each into a log. Place the logs into greased 9x5” bread pans. Cover them once more, letting them rise for an additional 45 minutes to an hour, until they’ve risen about an inch above the pans.
Step 6: Bake the Bread
Preheat your oven to 350°F and bake the loaves for about 30-33 minutes until golden brown. For the final check, gently tap the top of a loaf—it should sound hollow. Once baked, transfer the loaves onto a cooling rack and brush the tops with butter for an extra touch of deliciousness. Let them cool for at least 10 minutes before slicing into your homemade bread masterpiece.
Enjoy your beautifully baked bread, and remember: every loaf is a journey. It'll only get better with practice, and soon you'll be creating delicious variations to share with friends and family. Happy baking!
Variations on Homemade Bread
Creating your own homemade bread not only fills your kitchen with warmth but also opens the door to delightful variations.
Whole Wheat Homemade Bread
For a healthier twist, try substituting half of the white flour with whole wheat flour. This adds a nutty flavor and increases fiber content. Whole wheat bread is not just delicious; it’s a wholesome option that can leave you feeling more satisfied. Want to dive deeper? Check out this Whole Wheat Bread recipe for tips on perfecting your loaf!
Herb-Infused Homemade Bread
Add a burst of flavor by incorporating fresh herbs like rosemary, thyme, or basil into your homemade bread dough. Simply chop the herbs finely and fold them into the dough during the mixing stage. You can even sprinkle some dried herbs on top before baking for an aromatic crust. This variation is perfect for serving with soups or as a flavorful accompaniment to your meals. Have fun experimenting with different combinations!
Baking Tips and Notes for Homemade Bread
Importance of Proper Kneading
Kneading is crucial for developing the gluten structure in homemade bread, giving it that delightful chewy texture. Aim to knead your dough until it’s smooth and elastic; this usually takes about 4-5 minutes with a mixer or 8 minutes by hand. If you're curious about gluten formation, the King Arthur Baking Company offers excellent insights!
How to Achieve a Golden Crust
To achieve a beautiful, golden crust, start by preheating your oven properly. A baking stone or a pan of water in the oven can create steam, enhancing crust development. You might also consider brushing the loaf with water right before baking for an extra crispy finish. If you want to elevate your skills, check out a guide from Bon Appétit on perfecting bread crusts!
Serving Suggestions for Homemade Bread
Pairing Homemade Bread with Soups
There’s nothing quite like a warm slice of homemade bread alongside a hearty bowl of soup. This duo creates a comforting meal perfect for chilly evenings. Consider pairing your bread with classic favorites like creamy tomato soup or a savory minestrone. For a twist, try dipping your bread in butternut squash soup topped with a sprinkle of parmesan. The combination of flavors and textures will elevate your dining experience.
Using Homemade Bread for Sandwiches
Homemade bread is a fantastic foundation for creative sandwiches! Whether you’re crafting a robust turkey bacon club or a fresh chicken ham melt, the possibilities are endless. Slice your loaf thickly for a make-ahead lunch that holds up well and satisfies. Add your favorite condiments and vegetables for a balanced meal. Pair with a side salad or some sweet potato fries for a delicious lunch or dinner option. What will you create today?
For more ideas, check out this comprehensive guide on delicious sandwich combinations!
Tips for Making Perfect Homemade Bread
Common Mistakes to Avoid
One of the biggest pitfalls in making homemade bread is under-proofing or over-proofing the dough. Always keep an eye on the rising times! If your dough isn't doubling in size, it won’t develop that beautiful texture we all love. Also, don't rush the kneading; it’s crucial for gluten development. Remember to measure your ingredients precisely—too much flour can lead to a dense loaf.
Equipment Recommendations for Better Results
Investing in the right tools can elevate your homemade bread game. A stand mixer with a dough hook makes kneading a breeze, while a digital kitchen scale ensures accurate measurements. Don’t forget a sharp knife or bread lame for scoring! Lastly, using high-quality ingredients, like organic flour, can make all the difference in flavor.
For more tips on making your bread rise perfectly, check out this guide on baking.
Time Details for Homemade Bread
Preparation Time
Preparing the dough for your delicious homemade bread takes approximately 15 minutes. This includes mixing and kneading your ingredients to establish that perfect, elastic texture.
Rising Time
Once you’ve kneaded the dough, let it rise for about 1.5 hours until it has doubled in size. For the second rise after shaping, allow about 45 minutes to 1 hour.
Baking Time
Bake your homemade bread for around 30-33 minutes at 350°F, ensuring it reaches a beautiful golden brown hue.
This time-efficient process means you’ll have fresh, warm bread ready to enjoy in just a few hours! For more tips on perfecting your bread-making skills, check out this guide on baking techniques.
Nutritional Information for Homemade Bread
Calories
A slice of homemade bread typically contains around 202 calories. This makes it a satisfying option for meals or snacks. Whether you enjoy it plain or toasted, you can savor each bite knowing it’s made from wholesome ingredients.
Carbohydrates
Each slice packs about 41 grams of carbohydrates. These carbs provide a quick energy boost, making homemade bread a great choice for starting your day or fueling up for your activities.
Protein
With approximately 5 grams of protein per slice, this delightful bread also contributes to your daily protein intake. Pair it with your favorite toppings or use it as a base for sandwiches to enhance its nutritional profile even further!
For more information on understanding nutrition, you might find resources from the USDA helpful.
FAQs about Homemade Bread
How can I keep my bread fresh?
To keep your homemade bread fresh and delicious, store it in an airtight container or a resealable bag at room temperature for about 2-3 days. If you want to prolong its freshness, consider refrigerating it, although this may slightly alter the texture. For the best flavor, wrap it in a clean kitchen towel to maintain moisture while preventing it from becoming too soft.
Can I freeze homemade bread?
Absolutely! Freezing is a great way to extend the life of your homemade bread. Once your loaves cool completely, place them in a freezer-safe resealable bag. They can last for up to 3 months in the freezer. When you're ready to enjoy, simply thaw them at room temperature, or for a quicker method, pop them in a preheated oven for a refresh.
What if my dough doesn’t rise?
If your dough doesn’t rise, don’t worry—this happens to the best of us! Double-check that your yeast is fresh and active; it should bubble when proofed. If your kitchen is too cold, try transferring the dough to a warmer spot, like an oven set to a low temperature, or wrap it in a warm blanket. A few adjustments can often fix the problem! For more tips, check out this helpful guide on yeast activation from King Arthur Baking.
Conclusion on Homemade Bread
Making homemade bread is a rewarding experience that fills your kitchen with delightful aromas and offers warmth to every meal. With simple ingredients and love, you can create a delicious loaf that your family will cherish. So roll up your sleeves, embrace the process, and enjoy your freshly baked creation!
Homemade Bread
Equipment
- large bowl
- stand mixer
- measuring cups
- Measuring Spoons
- baking sheets
- cooling rack
- 9x5 bread pans
- Plastic Wrap
Ingredients
Wet Ingredients
- 2 cups warm water 105-115 degrees
- 1 Tablespoon active dry yeast
- ¼ cup honey or sugar 85g honey, 50g sugar
- 2 teaspoons salt
- 2 Tablespoons oil canola or vegetable
Dry Ingredients
- 4-5 ½ cups all-purpose or bread flour 500g-688g
Instructions
Prepare the Dough
- In a large bowl or stand mixer, add the yeast, warm water, and a pinch of sugar or honey. Allow to rest for 5-10 minutes until foaming and bubbly.
- Add remaining honey or sugar, salt, oil, and 3 cups of flour. Mix to combine.
- Add another cup of flour and mix to combine. Continue adding flour, ½ cup at a time, until the dough begins to pull away from the bowl. The dough should be smooth and elastic.
Knead the Dough
- Mix the dough for 4-5 minutes on medium speed or knead on a lightly floured surface for 5-8 minutes.
First Rise
- Grease a large bowl and place the dough inside, turning to coat. Cover and let rise in a warm place until doubled in size, about 1 ½ hours.
Shape & Second Rise
- Punch the dough down, divide into two portions, and shape into logs. Place into greased loaf pans and cover to rise again for about 45 minutes to 1 hour.
Bake
- Preheat oven to 350 F and bake bread for about 30-33 minutes or until golden brown. The bread should sound hollow when tapped.
- Invert loaves onto a cooling rack, brush with butter, and cool for at least 10 minutes before slicing.


Leave a Reply