
Introduction to Yaki Onigiri
What is Yaki Onigiri and Why Should You Try It?
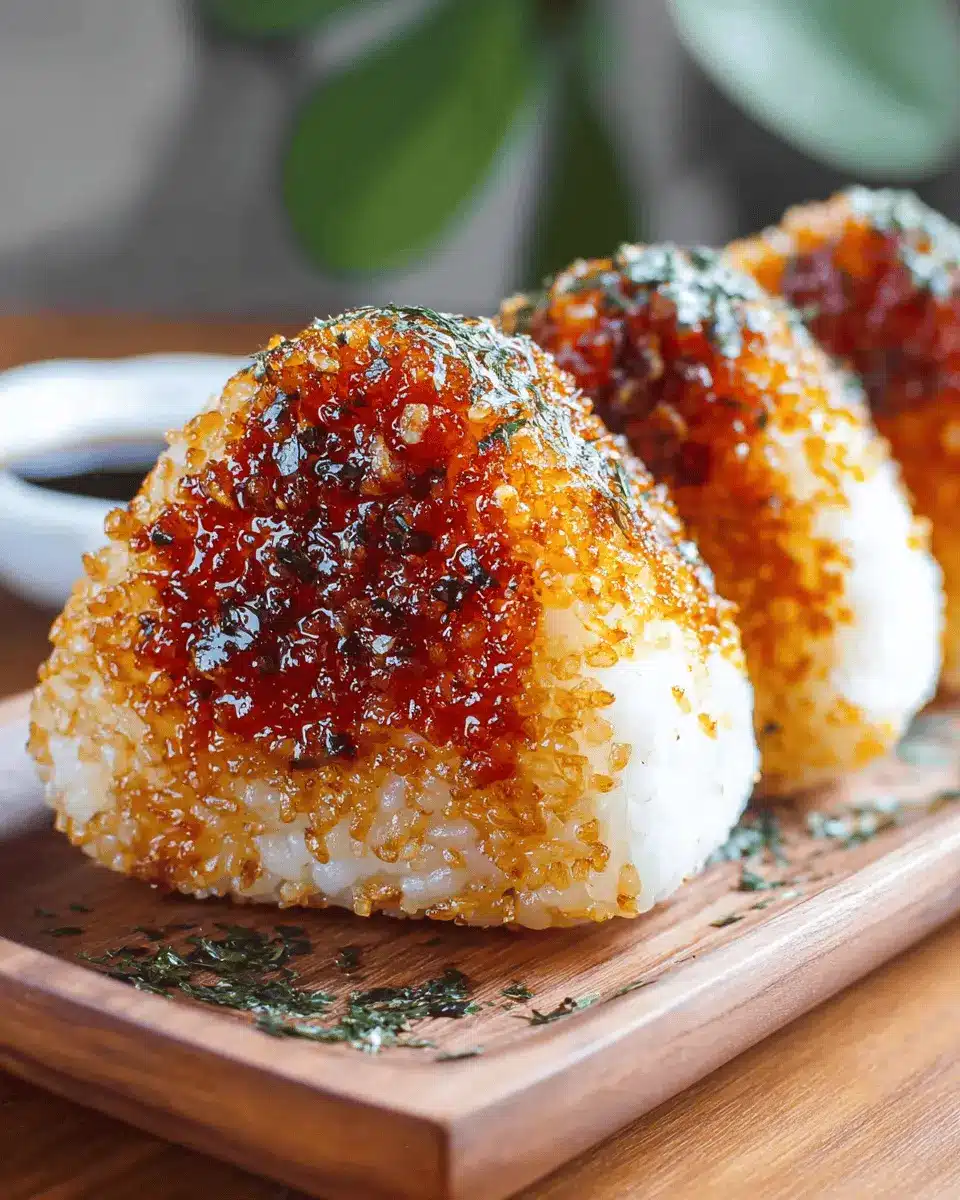
Yaki onigiri is a delicious Japanese grilled rice ball that embodies simplicity and flavor. Traditionally, onigiri refers to rice balls that are often filled or flavored, but the grilled version adds a delightful twist. When you bite into a yaki onigiri, you’re greeted with a crispy, golden-brown crust, while the inside remains warm and slightly chewy. It's an exciting way to enjoy rice!
Here are a few reasons why you should give yaki onigiri a try:
-
Versatile and Customizable: You can enjoy yaki onigiri as a snack, a side dish, or even a light meal. The fillings are endless—think about savory options like chicken ham or turkey bacon, or keep it classic with pickled vegetables.
-
Quick to Make: With just a few simple ingredients—mainly warm rice, some oil, and soy sauce—you can whip up this comforting dish in no time. It's perfect for busy weeknights or as a satisfying lunch option.
-
Nutritional Benefits: Packed with carbohydrates for energy, yaki onigiri also provides a great source of fiber, especially if you include wholesome fillings. Pair it with fresh veggies for a balanced meal.
Are you ready to explore this tasty treat? Let’s dive into the recipe!
Ingredients for Yaki Onigiri
Making yaki onigiri is a delightful way to transform simple rice into a crispy, savory treat. Let’s dive into the essential ingredients you’ll need to create this Japanese favorite!
Essential ingredients for Yaki Onigiri
To whip up some delicious yaki onigiri, you’ll need:
- 2 cups cooked rice: Opt for short or medium-grain rice, as its sticky texture is key to forming the perfect shape.
- 1 tablespoon vegetable oil: This will give your rice balls that golden, crispy exterior.
- Soy sauce: A must-have for brushing on your yaki onigiri for that umami kick.
Warm rice is essential, so remember to prepare it fresh! You can also explore this guide to perfecting rice for more tips.
Optional seasonings and fillings
Feel free to get creative! Many love adding the following variations:
- Furikake: A Japanese rice seasoning that can elevate your yaki onigiri.
- Fillings: Consider using ingredients like grilled chicken, turkey bacon, pickled vegetables, or even a dash of miso butter for a unique twist. Just remember to choose low-moisture fillings to keep the rice crisp.
Whether you stick to the basics or add exciting twists, these ingredients lay the foundation for a delicious meal!
Step-by-step Preparation of Yaki Onigiri
Creating delicious yaki onigiri is not just about the ingredients, but also the process! Follow these steps to whip up this delightful Japanese treat that’s perfect for lunch or a snack.
Cook and prepare the rice
Start with 2 cups of short or medium-grain rice, which is ideal for creating those sticky rice balls. Prepare the rice as you normally would—rinsing it until the water runs clear helps remove excess starch, a crucial step for optimal stickiness. Cook it according to your rice cooker's instructions or on the stovetop until it’s fluffy and warm. Remember, using warm rice is essential; cold rice lacks the necessary stickiness and can lead to crumbling onigiri. Once your rice is cooked, let it sit for about 10-15 minutes to steam.
Shape the rice balls
Once your rice is ready, it’s time to shape your yaki onigiri. You have two options:
- Hand shaping: Wet your hands with water (this prevents sticking) and take ⅓ to ½ cup of warm rice, pressing it firmly into a triangular shape. Don’t rush this step; a well-shaped rice ball will hold together beautifully during grilling.
- Using a mold: If you prefer, you can fill a mold with the warm rice and press down firmly to achieve the desired shape. Molds can be quite handy if you’re making a batch!
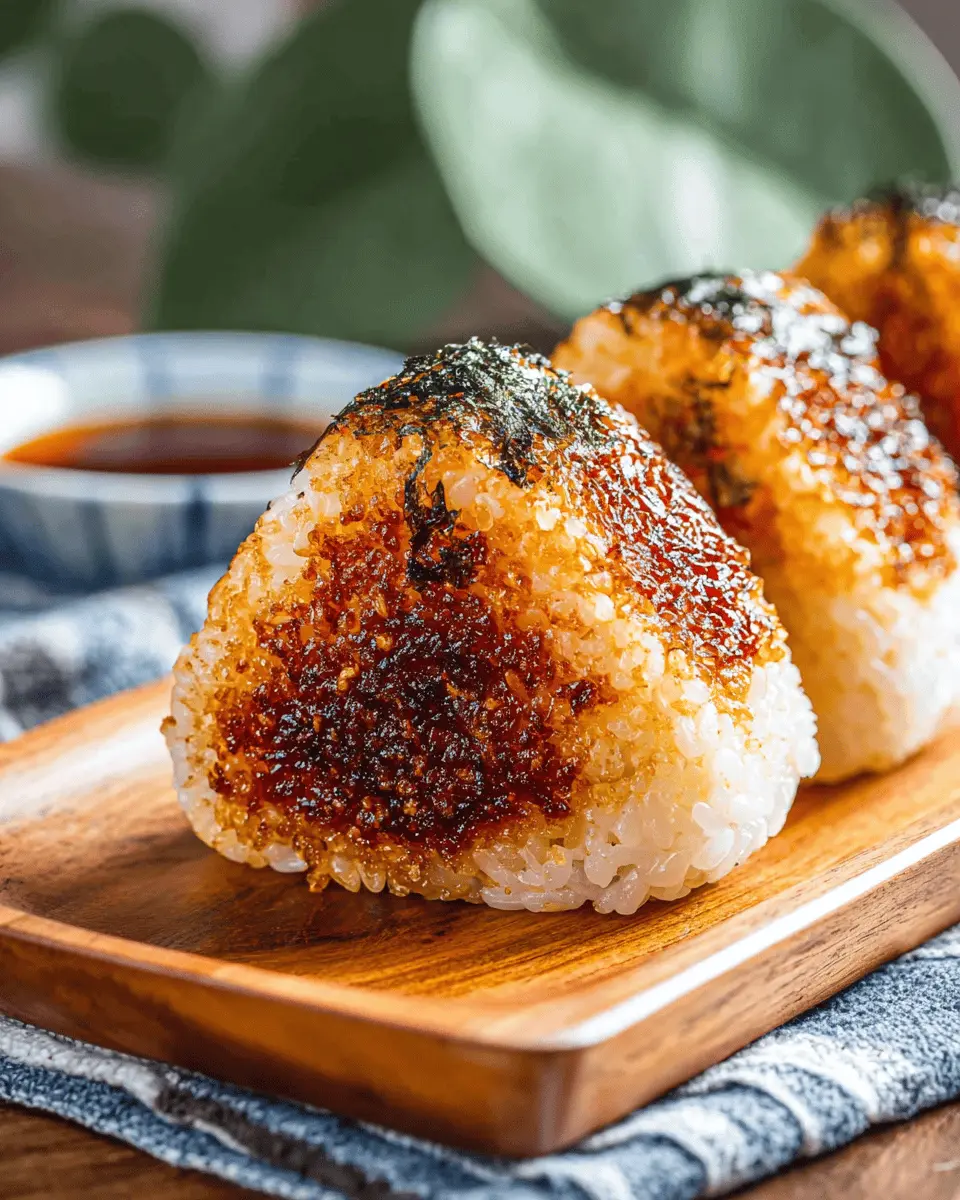
Grill the rice balls for that crispy exterior
Now onto one of the most satisfying parts—grilling! Heat a non-stick pan over medium heat and add 1 tablespoon of vegetable oil. Place the shaped rice balls in the pan, giving them space to avoid sticking. Grill each side until a crispy, golden-brown crust forms, which usually takes about 3-4 minutes. Avoid flipping them too often; you want to let that crust develop!
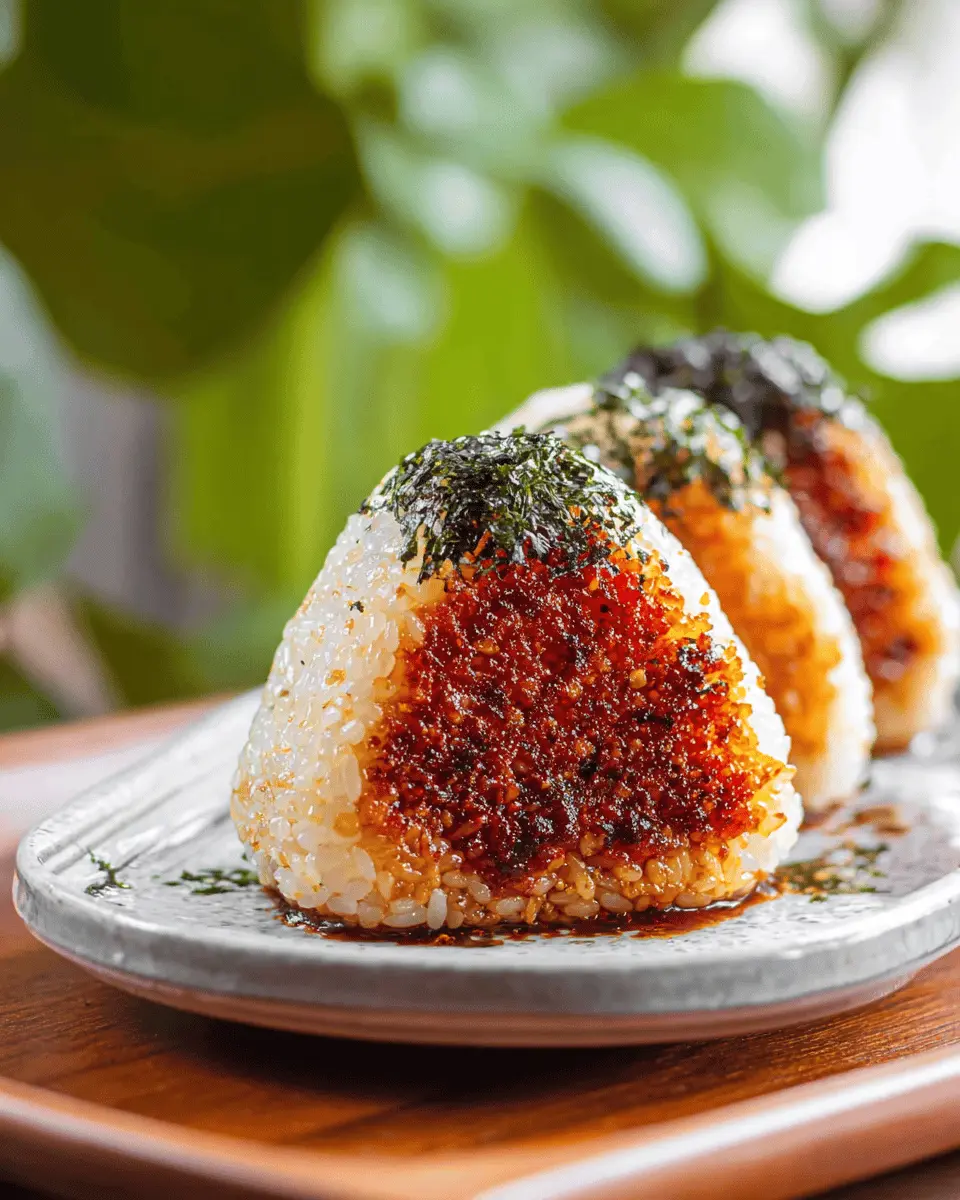
Season with soy sauce
After achieving that lovely crispy exterior, it’s time to add flavor. Lower the heat a bit, then brush one side of each rice ball with soy sauce. Wait about 15 to 30 seconds for the sauce to caramelize—keep an eye on them, as they can burn quickly. After one side is done, flip and repeat the process for the other side. This seasoning not only enhances the flavor but also adds a beautiful sheen to your yaki onigiri.
Serve and enjoy!
Now that your yaki onigiri is beautifully grilled and seasoned, it’s time to serve! For a sprinkle of extra flavor, consider adding some furikake on top while they are still hot. These crispy rice balls make a fantastic dish on their own, but you can pair them with pickled vegetables or a side salad for a complete meal. Enjoy this tasty snack or meal with friends, or simply savor it on your own!
Variations on Yaki Onigiri
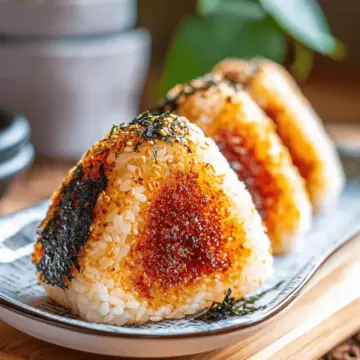
Classic Yaki Onigiri with fillings
The beauty of yaki onigiri lies in its versatility. You can easily customize them with delightful fillings. Traditional options include savory ingredients like tuna mayo, spicy salmon, or even chicken ham. Simply create a small indentation in your rice ball, fill it with your choice, and ensure it's fully covered before grilling.
Creative twists on the traditional recipe
Why not think outside the box? You can infuse your yaki onigiri with unique flavors like sushi ingredients or even roasted vegetables. Incorporate ingredients like turkey bacon or cooked shrimp, or opt for a sweet variation using a small dollop of red bean paste. Experimenting with different sauces can also elevate the experience. Try a miso butter blend or a drizzle of teriyaki sauce for a delicious twist. With so many possibilities, your yaki onigiri can truly reflect your personality and taste!
Cooking Tips and Notes for Yaki Onigiri
Tips for Perfect Rice Texture
For the best yaki onigiri, use short or medium-grain rice—it’s key for achieving that perfect sticky texture! Make sure the rice is warm when shaping, as cold rice won’t hold together well. Don’t forget to wet your hands before handling the rice to prevent sticking. If you want to add fillings, keep them low-moisture, ensuring your onigiri stay crispy on the outside.
General Grilling and Seasoning Advice
When grilling, heat the pan over medium and add a bit of vegetable oil for that golden-brown crust. Avoid flipping too frequently to keep your shapes intact. Brush with soy sauce near the end of grilling for a delightful glaze. Check out this grilling guide for more pro tips!
Serving Suggestions for Yaki Onigiri
How to serve Yaki Onigiri as a snack or meal
Yaki onigiri makes a delightful snack or meal option. Serve these delicious, grilled rice balls warm for maximum flavor. You can enjoy them on their own or with a side of dipping sauce, like soy sauce or teriyaki. For a heartier meal, consider adding a side of miso soup and pickled vegetables to enhance the experience.
Pairing options for a complete meal experience
To elevate your yaki onigiri into a full meal, pair it with grilled chicken ham, turkey bacon, or even sautéed vegetables. Fresh greens, like a simple cucumber salad, add a refreshing crunch. Don’t forget to serve a fragrant green tea to cleanse the palate and enrich this tasty journey!
Time Breakdown for Yaki Onigiri
Preparation time
Getting ready to make yaki onigiri is quick and simple. You'll need about 10 minutes to shape the rice balls and gather your ingredients.
Cooking time
The grilling part is where the magic happens, taking approximately 15 minutes. Each side needs a bit of time to get that perfect golden-brown crust.
Total time
In total, you’re looking at around 25 minutes from start to finish! Perfect for a quick weeknight meal or snack. Happy cooking!
Nutritional Facts of Yaki Onigiri
When diving into the world of yaki onigiri, it's essential to know what you're indulging in. Here’s a quick overview of its nutritional profile to keep you informed.
Calories
One serving of yaki onigiri packs approximately 211 calories, making it a satisfying yet light meal or snack option.
Protein
With around 5 grams of protein, yaki onigiri contributes to your daily intake, especially if paired with a protein-rich filling like chicken ham or even turkey bacon!
Sodium
The dish contains about 504 mg of sodium, primarily from the soy sauce. Keep this in mind if you’re watching your sodium intake, and consider low-sodium soy sauce for a healthier twist.
For more insights on the benefits of including rice dishes in your diet, you can check out articles from the Whole Grains Council and Healthline. Enjoy your yaki onigiri extravaganza, knowing you're making informed choices!
FAQs about Yaki Onigiri
Can I use any type of rice for Yaki Onigiri?
No, for yaki onigiri, it’s best to stick with short or medium-grain rice. These varieties are stickier and help the rice hold its shape when formed into triangles. Avoid long-grain rice like Jasmine, as it won’t provide the same texture.
How do I reheat leftover Yaki Onigiri?
Reheating yaki onigiri is simple! For best results, cover the rice balls with a damp paper towel and microwave them in short intervals of 20 seconds. Alternatively, you can toast them in the oven to regain their crispy texture. Just make sure they’re warmed all the way through.
What are the best fillings for Yaki Onigiri?
You can get creative with fillings! Some popular options include:
- Grilled salmon
- Chicken Ham
- Turkey Bacon
- Pickled vegetables
Just remember to keep your fillings low in moisture to prevent sogginess. Enjoy experimenting with flavors!
Conclusion on Yaki Onigiri
In conclusion, yaki onigiri is a delightful and versatile dish that truly shines when made with love. Whether enjoyed as a snack or a meal, its crispy exterior and soft interior will impress your taste buds. Try your hand at making these tasty rice balls and share them with friends!
Yaki Onigiri
Equipment
- pan
- Rice Mold
Ingredients
- 2 cups cooked rice short or medium-grain; warm
- 1 Tablespoon vegetable oil
- soy sauce
Instructions
Shape Rice Ball
- Wet your hands with water and take about ⅓ to ½ cup of warm rice in your hands. Using both hands, firmly press the rice into a triangular shape.
- Fill the mold with the appropriate amount of rice and firmly press to create your shape.
Grill
- Heat a pan over medium heat and add the oil. Grill each side of the rice ball until a crispy, golden-brown crust forms. Avoid flipping often to keep the shape intact.
Season with sauce
- Lower to low heat and brush one side with soy sauce and flip to caramelize the sauce slightly. Check after 15 to 30 seconds as it can easily burn. Brush the other side with soy sauce and flip to caramelize that side. Serve and optionally sprinkle with furikake while still hot.


Leave a Reply