
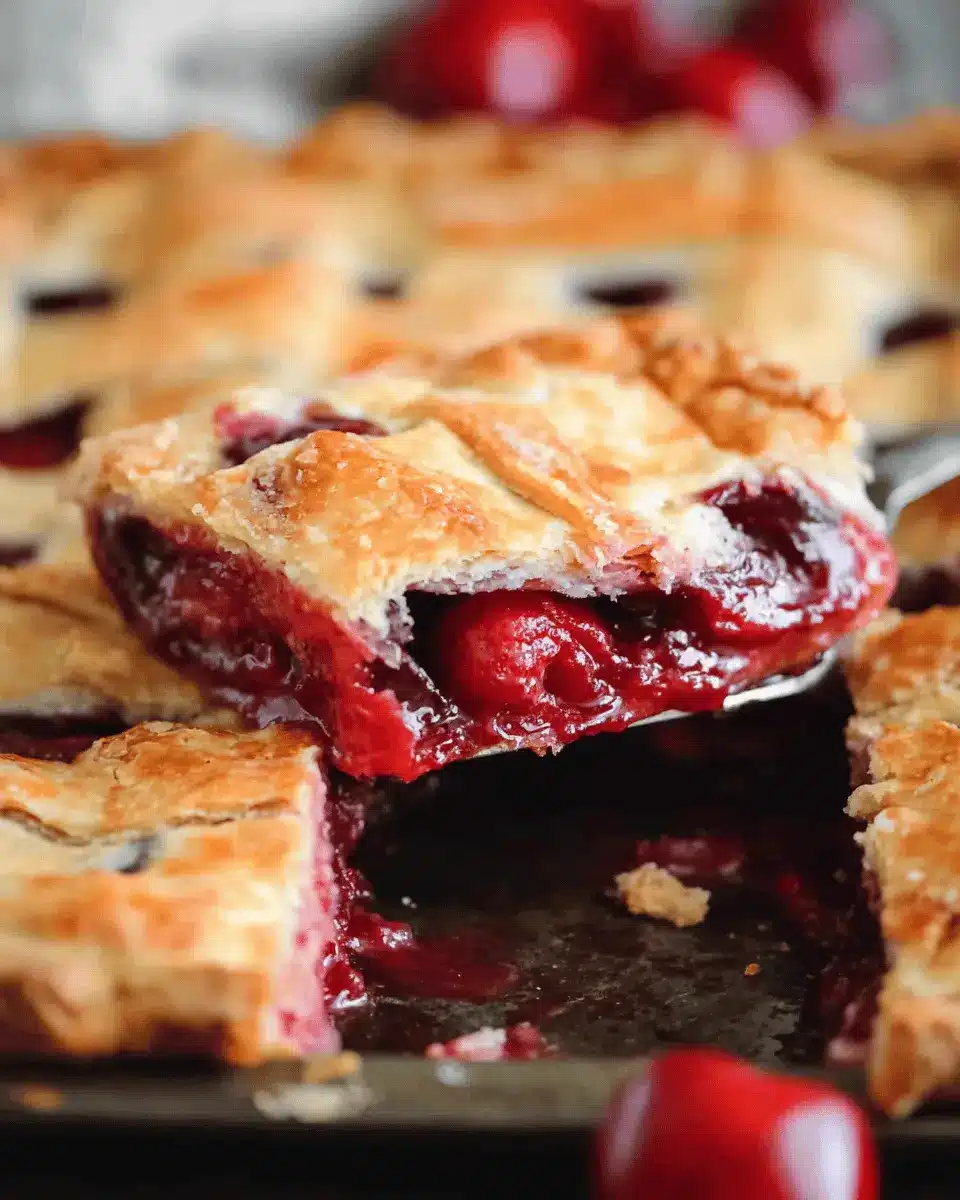
Introduction to Cherry Slab Pie
If you're looking for a delightful dessert that combines the juiciness of cherries with a buttery crust, then cherry slab pie is your perfect homemade treat. This generous, rectangular take on the classic pie serves a crowd and is surprisingly simple to make. Whether for a potluck, picnic, or family gathering, this dessert promises to bring smiles and satisfied taste buds.
Why Cherry Slab Pie is the Perfect Homemade Treat
What makes cherry slab pie a standout? For starters, its ease of preparation. Unlike traditional pie, a slab pie allows you to roll out the crust quickly, making it less intimidating for novice bakers. Plus, the generous size means you can slice it into large squares or even smaller bite-sized pieces for those who prefer just a taste.
Another reason you'll love this dish is the sweet and tangy cherry filling. Cherries are not only delicious but are also packed with antioxidants, making this dessert a slightly guilt-free indulgence. If you’re curious about the health benefits of cherries, check out the information from the Cherry Marketing Institute.
Finally, serving a cherry slab pie is a social affair. Picture sharing slices with friends on a sunny day, each bite bursting with flavor and nostalgia. So roll up your sleeves and let’s dive into this easy yet impressive dessert!
Ingredients for Cherry Slab Pie
Creating a delicious cherry slab pie starts with the right ingredients. Let’s break down what you’ll need for each component of this delightful dessert.
Pie Crust Ingredients
For your crust, you'll need:
- 4 cups of all-purpose flour
- 2 teaspoons salt
- 1 ¼ cup shortening
- ½ cup cold butter, cut into small cubes
- 1 tablespoon vegetable oil
- ¾ cup milk
- 1 tablespoon lemon juice
These ingredients form a flaky and buttery crust that perfectly complements the sweet cherry filling.
Cherry Filling Ingredients
For the cherry filling, you can keep it simple with:
- 3 (21 oz.) cans of cherry pie filling
Using canned filling is not only convenient but also ensures fabulous flavor and consistency that will delight your taste buds.
Crust Dust Ingredients
To add an extra layer of texture and sweetness, combine:
- 2 tablespoons all-purpose flour
- 2 tablespoons sugar
This crust dust will be sprinkled on the bottom of the pie to absorb some of the moisture from the filling.
Egg Wash Ingredients
To achieve that beautiful golden crust, you’ll need:
- 1 beaten egg
- 1 tablespoon water
Brushing the top with this egg wash before baking gives the cherry slab pie a lovely shine and enhances its appearance.
With these ingredients at your fingertips, you're all set to create a stunning cherry slab pie that everyone will rave about!
Step-by-Step Preparation for Cherry Slab Pie
If you're ready to create a delightful cherry slab pie that will wow your friends and family, let's dive into the preparation process. Follow these simple steps, and you'll soon have a delicious dessert to share!
Preparing the Pie Crust
- In a large mixing bowl, combine 4 cups of all-purpose flour and 2 teaspoons of salt.
- Next, cut in 1 ¼ cup of shortening and ½ cup of cold butter (cut into small cubes) until the mixture resembles small peas. This step is crucial for achieving a flaky crust, so don’t rush it!
- In a separate small bowl, mix ¾ cup of cold milk and 1 tablespoon of lemon juice. Add 1 tablespoon of vegetable oil to this mixture.
- Pour this liquid mixture into the flour mixture and stir until a soft dough forms. You might find it easier to use your hands to bring it all together.
- Divide the dough into two equal halves, flatten them into discs, wrap them in plastic, and chill in the refrigerator for 30 minutes.
Making the Cherry Filling
While the dough chills, it’s time to prepare the cherry filling:
- Open 3 cans of cherry pie filling and pour them into a bowl. Feel free to taste a bit and adjust with extra sugar or a squeeze of lemon juice if you want a bit more tang!
If you want a homemade cherry filling, you can find great recipes here.
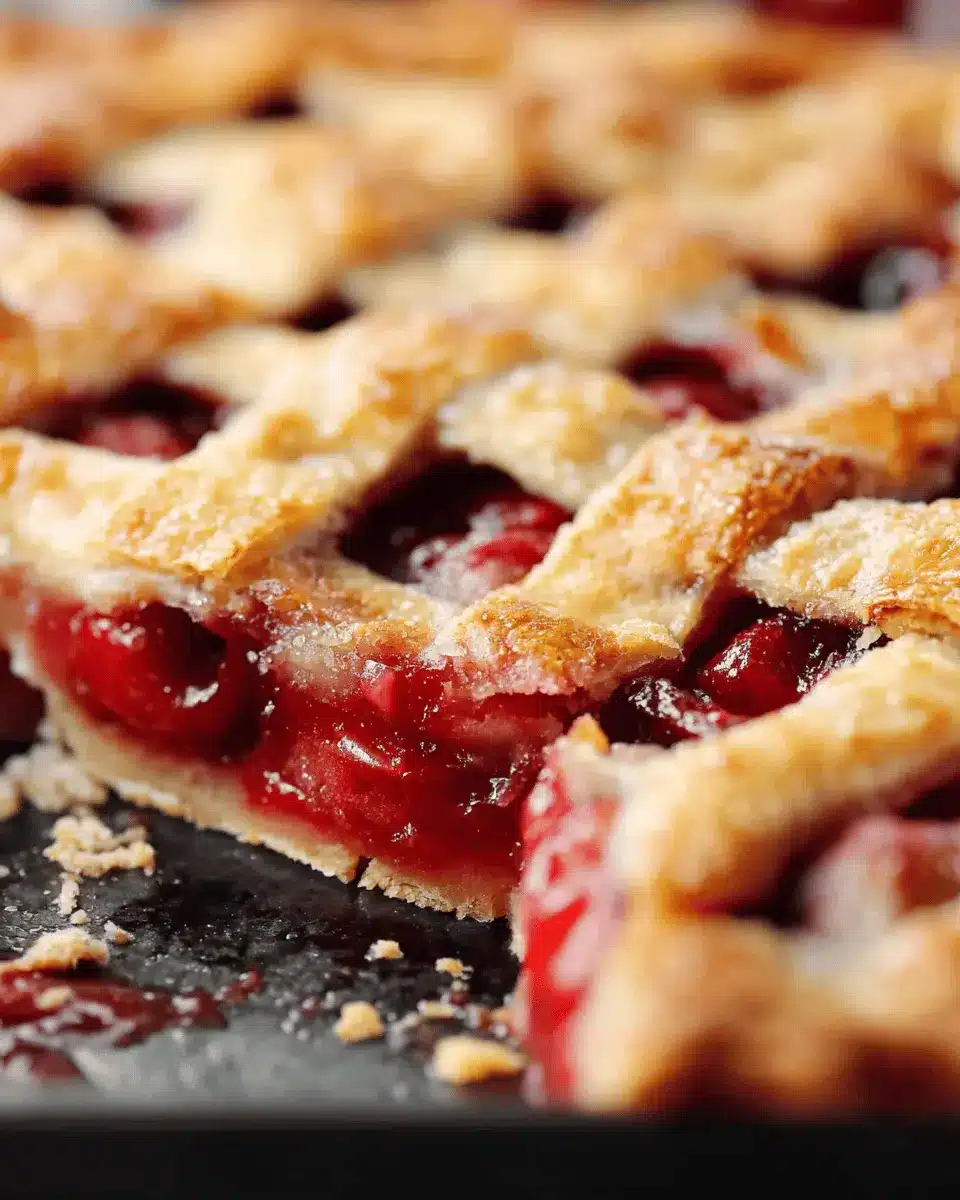
Assembling the Pie
- Preheat your oven to 400°F. If you have a pizza stone, place it in the oven to preheat for a perfect crust.
- Roll out one portion of the chilled dough to approximately 13x18 inches, hitting about ⅛ inch thickness. Transfer this into a 10x15 inch jelly roll pan, letting the edges hang over the sides.
- To prepare the bottom crust, sprinkle a mixture of 2 tablespoons of flour and 2 tablespoons of sugar over the surface.
- Pour the cherry filling evenly over the crust.
- Roll out the second dough portion and place it gently on top of the filling. Trim any excess dough if desired.
- Fold the edges of both crusts back and tuck them into the pan and crimp the edges using your fingers or a fork.
- Don’t forget to cut a few slits in the top crust for steam to escape!
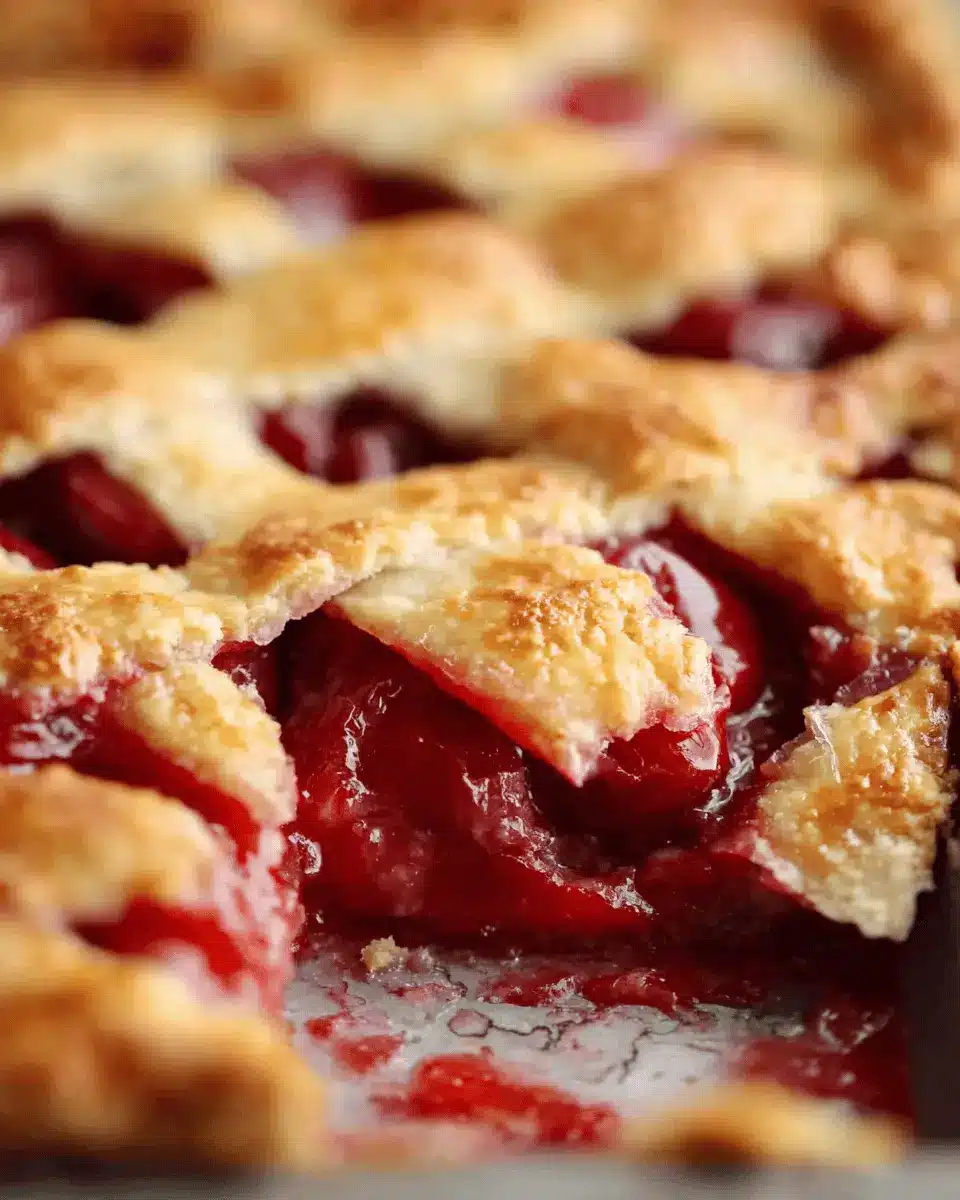
Baking the Cherry Slab Pie
- Brush the top crust lightly with an egg wash (mix 1 beaten egg with 1 tablespoon of water), then sprinkle with a little sugar for added sweetness and shine.
- Place your assembled slab pie in the preheated oven and bake for about 30 minutes or until the crust is golden brown and crispy.
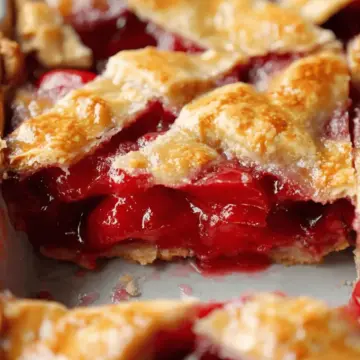
Allow the pie to cool for a while before slicing—if you can resist the urge to dig in right away! This pastry is perfect for gatherings or a cozy night in. Enjoy your homemade cherry slab pie!
Variations on Cherry Slab Pie
Mixed Fruit Slab Pie
Why limit yourself to just cherries? Experiment by adding other fruits like blueberries, raspberries, or even diced peaches to create a delicious mixed fruit slab pie. Combining different fruits not only enhances flavor but also adds visual appeal. Just make sure to adjust the sugar in the filling based on the sweetness of the fruits you use.
Gluten-Free Cherry Slab Pie
For those with gluten sensitivities, a gluten-free cherry slab pie is achievable! Substitute the all-purpose flour with a gluten-free blend, and follow the same crust preparation steps. Make sure to check your cherry filling, too; some brands might contain gluten. This way, everyone can enjoy a slice of this delightful cherry slab pie without worrying about their dietary restrictions!
Cooking Tips and Notes for Cherry Slab Pie
Best practices for pie crust
Creating a flaky crust is key for your cherry slab pie. Here are some tips:
- Keep Ingredients Cold: Make sure your shortening and butter are cold. This helps create that beautiful flaky texture we all love.
- Don’t Overmix: Mix the dough just until it comes together. Overmixing can lead to a tough crust.
- Chill the Dough: Refrigerate the dough for at least 30 minutes before rolling. This helps prevent shrinkage during baking.
For more in-depth pie crust techniques, check out the American Pie Council.
Tips for using fresh cherries
If you opt for fresh cherries, follow these hints:
- Choosing the Right Cherries: Look for firm, shiny cherries with no blemishes. Tart varieties work beautifully in pies.
- Pitting Made Easy: Use a cherry pitter to speed up the process or a chopstick if you're in a pinch. Just remove the pit without squishing the fruit!
- Flavor Boost: Mix in a sprinkle of lemon juice and a bit of sugar for added sweetness.
Using fresh cherries can elevate your cherry slab pie to a whole new level. Enjoy every bite!
Serving Suggestions for Cherry Slab Pie
Perfect pairings with ice cream
Nothing beats a warm slice of cherry slab pie paired with a scoop of vanilla ice cream. The creamy texture and rich flavor of the ice cream meld beautifully with the tart cherry filling, creating a delightful contrast. For a twist, consider flavors like black cherry or almond, which can enhance the cherries’ natural sweetness. A sprinkle of toasted almonds on top can add a satisfying crunch!
Creative presentation ideas
To elevate your cherry slab pie for gatherings, serve it on a rustic wooden board, garnished with fresh cherries and mint sprigs. Slice the pie into squares or wedges and serve with a drizzle of chocolate sauce for an indulgent touch. If you're feeling artistic, use a stencil to dust powdered sugar on top just before serving, adding a lovely finishing touch.
Time Breakdown for Cherry Slab Pie
Preparation time
Start your culinary adventure with about 1 hour for preparation. This includes whipping up the homemade pie crust, letting it chill in the fridge while you soak in the aromas of cherry filling, and getting everything set in your jelly roll pan.
Baking time
Once your pie is prepped, it’s time for the oven! Bake your cherry slab pie for 30 minutes at 400 degrees. The heavenly scent will have everyone flocking to the kitchen!
Total time
In total, plan for about 1 hour and 30 minutes from start to finish. This includes prep, chill, and bake time. A small investment for a scrumptious dessert that your friends and family will love!
For more tips on pie making, you can check out this insightful article on perfecting your pie crust techniques!
Nutritional Facts for Cherry Slab Pie
When indulging in a delicious cherry slab pie, it's handy to know the nutritional breakdown. A typical serving offers:
- Calories: 226 kcal
- Protein: 3g
- Sugar: 2g
This treat is not only satisfying but also carries a reasonable amount of protein and sugar compared to other desserts. Enjoy it as a special snack or dessert without feeling overly guilty! For more detailed information on pie nutrition, you can check out resources like USDA FoodData Central and NutritionData. Happy baking!
FAQs about Cherry Slab Pie
Can I freeze cherry slab pie?
Absolutely! Cherry slab pie freezes beautifully, making it perfect for meal prep or special occasions. After baking, let it cool completely before wrapping it in plastic wrap and then aluminum foil—this prevents freezer burn. When you're ready to enjoy it, simply thaw it in the refrigerator overnight and reheat in the oven for that fresh-from-the-oven taste.
What are the best cherries to use?
For a delicious cherry slab pie, fresh sour cherries are wonderful if they are in season, but jarred or canned cherries can work just as well. Look for high-quality pie filling options, as they are often sweetened perfectly and save you time. Brands like Oregon Fruit Products or Libby's can be great selections.
How do I make my crust flaky?
To achieve that irresistible flaky crust, use a combination of cold butter and shortening, as listed in your recipe. Keeping your butter cold is essential, so handle the dough minimally and chill it before rolling. For a real treat, try using a food processor to mix your dough, but be cautious not to overwork it. You’ll have a cherry slab pie crust that’s irresistible!
For more tips on pie baking and crust perfection, check out sources like King Arthur Baking and Serious Eats.
Conclusion on Cherry Slab Pie
In summary, cherry slab pie is an enjoyable dessert that’s perfect for gatherings and celebrations. Its sweet cherry filling and flaky crust make it a crowd-pleaser. With easy preparation and a stunning presentation, this recipe is sure to become a favorite in your baking repertoire. Enjoy every delicious slice!
Cherry Slab Pie
Equipment
- large bowl
- small bowl
- Jelly Roll Pan
- Plastic Wrap
- Rolling Pin
- oven
Ingredients
PIE CRUST
- 4 cups all-purpose flour
- 2 teaspoons salt
- 1.25 cups shortening
- 0.5 cups COLD butter cut into small cubes
- 1 tablespoon vegetable oil
- 0.75 cups milk
- 1 tablespoon lemon juice
CHERRY FILLING
- 3 cans cherry pie filling 21 oz. each
CRUST DUST
- 2 tablespoons all-purpose flour
- 2 tablespoons sugar
EGG WASH
- 1 egg beaten
- 1 tablespoon water
Instructions
Preparation
- Mix flour and salt in a large bowl. Cut in shortening and butter until the particles are the size of small peas.
- Combine milk and lemon juice together in a small bowl.
- Add oil and milk/lemon mixture to the flour mixture and stir until a soft dough forms. You may need to use your hands to form the mixture into a dough.
- Divide the dough into two equal portions. Flatten into a disc and wrap with plastic. Refrigerate 30 minutes.
- Preheat the oven to 400 degrees. If you have a pizza stone, place it on the oven rack to preheat.
- Roll pie crust on a lightly floured surface. Keep rolling until it is a 13x18" rustic-looking rectangle (about ⅛" thick).
- Place the rectangle into a 10x15" jelly roll pan, allowing the excess to hang over the edge of the pan.
- Sprinkle crust dust (a combination of 2 Tbsp. sugar and 2 Tbsp. flour) over the pie crust bottom.
- Pour cherry filling over the bottom crust.
- Roll the second crust out into a rustic-looking 13x18" rectangle.
- Place on top of the pie.
- Fold the edges of the top and bottom crust back and tuck into the pan.
- Use your fingers to pinch and crimp the edges of the pie (or use a fork to crimp).
- Cut slits into the top of the pie to allow steam to vent while baking.
- Brush the crust lightly with egg wash then sprinkle with sugar.
- Bake slab pie for 30 minutes.


Leave a Reply