
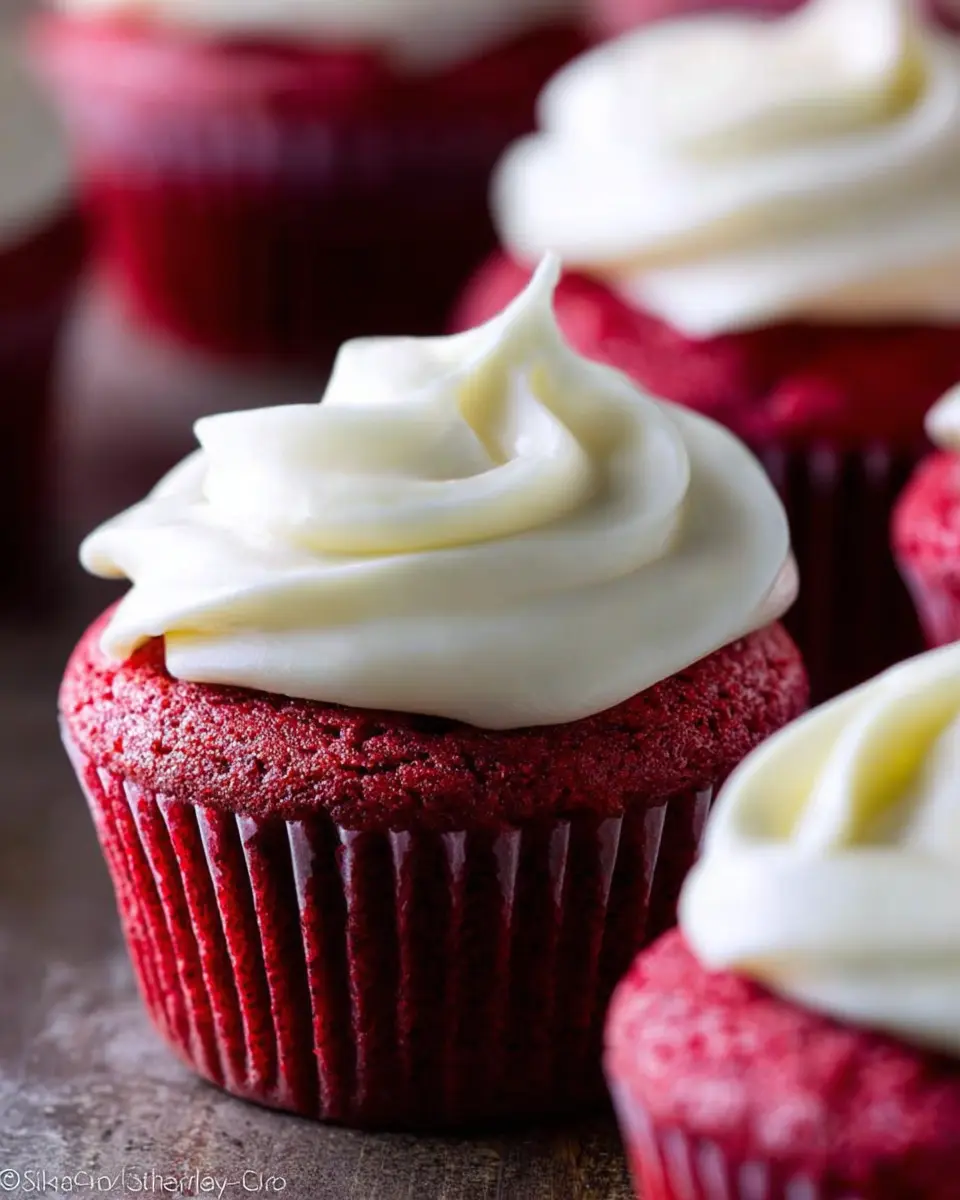
Introduction to Red Velvet Cupcakes
When it comes to desserts, few treats are as iconic as red velvet cupcakes. Their vibrant color and rich flavor create an enticing visual and gustatory experience that is hard to resist. But what makes them such a beloved choice?
What Makes Red Velvet Cupcakes a Favorite?
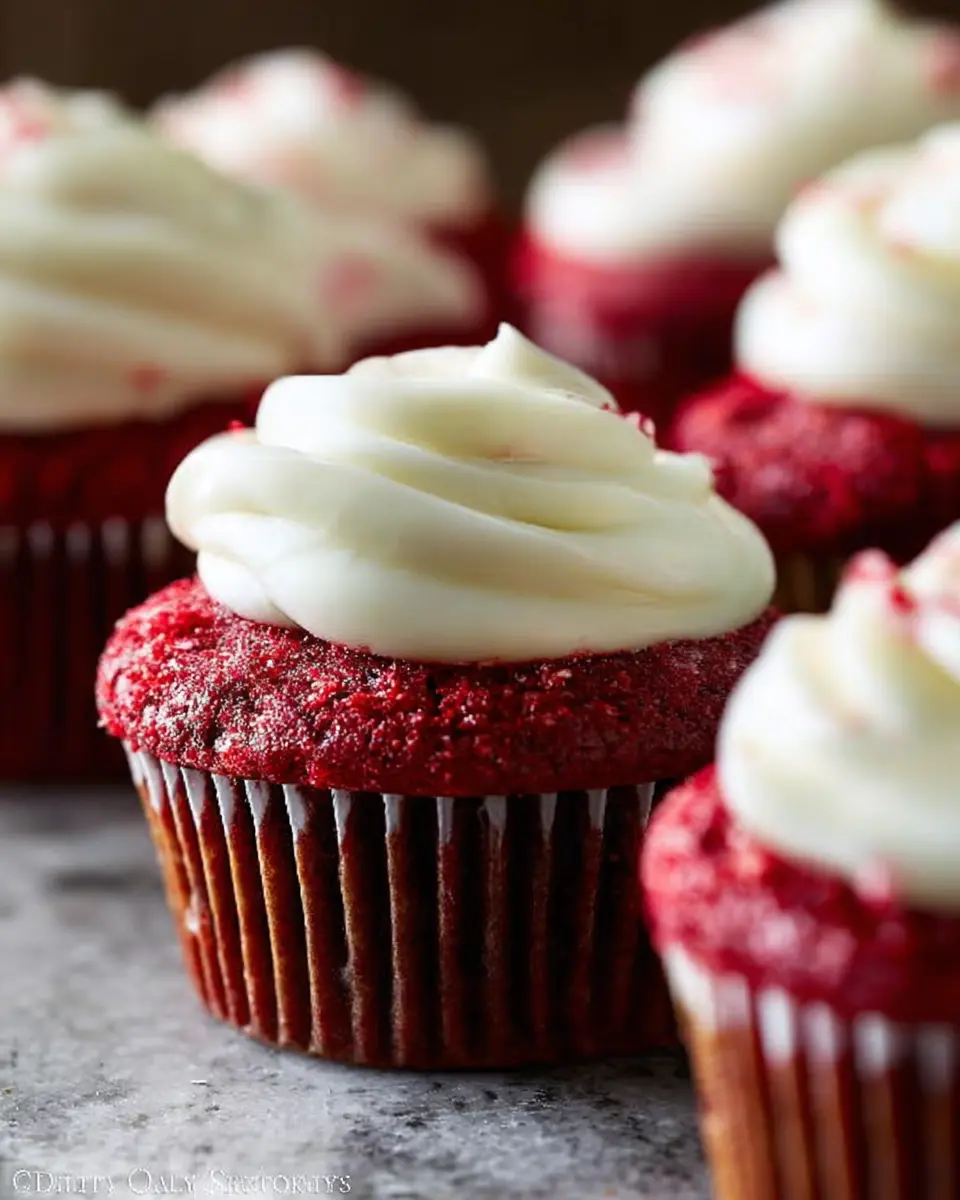
One reason for their popularity is their unique flavor profile. With a perfect blend of mild cocoa and a hint of tang from buttermilk, red velvet cupcakes offer a flavor unlike any other. Although they are often paired with creamy, tangy cream cheese frosting, you can easily customize the topping to match your preference.
Moreover, these cupcakes stand out in celebrations and gatherings, whether it's a birthday, an anniversary, or just a casual get-together with friends. Their eye-catching color can elevate any occasion, making them a favorited dessert.
If you're curious about the history, red velvet cake has roots that trace back to the Victorian era, making it a timeless classic. The glossy appearance and inviting aroma that wafts through the kitchen during baking often lead to eager anticipation. Looking for more tips on baking? Check out Sally's Baking Addiction for extensive resources.
Ready to dive into the world of baking and make your own delightful batch of red velvet cupcakes? Let's get started!
Ingredients for Red Velvet Cupcakes
Essential ingredients for classic red velvet
To create the perfect red velvet cupcakes, you’ll need a combination of essential ingredients that bring out that signature flavor and vibrant color. Key ingredients include:
- Eggs: They provide structure and moisture. Be sure to use room temperature eggs for optimal mixing.
- All-purpose flour and cornstarch: This blend offers a tender crumb.
- Natural unsweetened cocoa powder: Just a bit for that subtle chocolatey taste.
- Buttermilk: It adds tanginess and helps keep your cupcakes moist.
- Red food coloring: Liquid or gel options work best to achieve that eye-catching hue.
- Unsalted butter and vegetable oil: A mix of these gives your cupcakes richness without being too heavy.
Tips for selecting high-quality ingredients
Selecting the right ingredients can make all the difference. Look for:
- Fresh eggs—check the expiration date!
- High-quality cocoa powder, as it impacts flavor. Brands like Valrhona or Ghirardelli are great choices.
- Real vanilla extract over artificial for a deeper flavor.
Using top-notch ingredients will elevate your red velvet cupcakes, ensuring they’re not just delicious but also memorable. For more insights on measuring and ingredient selection, check out this guide from Sally's Baking Addiction.
Step-by-Step Preparation for Red Velvet Cupcakes
Prepare your kitchen and tools
Before diving into the delightful world of red velvet cupcakes, it’s essential to set the stage. Start by preheating your oven to 350°F (177°C). This will ensure your cupcakes bake evenly right from the moment they hit the oven. Next, gather all your ingredients and tools to create a seamless baking experience. You’ll need:
- A 12-count muffin pan
- Cupcake liners
- Mixing bowls (preferably one for wet ingredients and one for dry)
- A handheld or stand mixer
- Measuring cups and spoons
Having everything within arm’s reach not only speeds up the process but also helps keep you organized and focused.
Mix the dry ingredients together
In a medium bowl, sift together the all-purpose flour, cornstarch, baking soda, cocoa powder, and salt. Sifting is more than just a fancy step; it ensures that everything is evenly combined. For a more detailed guide on measuring baking ingredients, check this handy resource. Once mixed, set this bowl aside as it will be added to your wet ingredients shortly.
Cream the butter and sugars
Now, let’s get to the fun part! In a different bowl, beat together the unsalted butter, granulated sugar, and canola oil using your mixer on high speed. Mix this for about 2 minutes until the mixture is light and fluffy. It may look slightly “piece-y,” which is totally normal—don’t worry about it! We’re building flavor and texture here.
Create the batter and mix carefully
After creaming, add the egg yolks, vanilla extract, distilled white vinegar, and your red food coloring of choice. This is where the magic begins! Mix until everything is nicely blended, then lower the mixer speed. Gradually add your dry ingredients and the buttermilk in three alternating parts, starting and ending with the dry mix. This technique will keep your batter from overmixing and guarantees lovely, tender cupcakes. Finally, gently fold in the whipped egg whites you prepared earlier; this adds a delightful lightness to your batter.
Fill the cupcake liners and bake
With your batter ready, it’s time to fill the cupcake liners. Use a spoon or ice cream scoop to fill each liner about halfway to two-thirds full. This allows enough room for the red velvet cupcakes to rise beautifully. Bake for 20-21 minutes, or until the tops spring back when lightly touched. Remember, overbaking can lead to dry cupcakes, so keep an eye on them!
Cool the cupcakes before frosting
Once baked, allow your cupcakes to cool in the pan for 5 minutes. Then, transfer them to a wire rack to cool completely. This is a crucial step—frosting warm cupcakes can lead to a melty mess! While you wait, take a moment to prepare your favorite cream cheese frosting (find a great recipe here). When the cupcakes are cool to the touch, it’s time to frost them generously and enjoy the fruits of your labor!
Variations on Red Velvet Cupcakes
Red velvet cupcakes offer a delightful base for creativity in the kitchen. Here are two fun variations to elevate your baking experience!
Red Velvet Cupcakes with a Chocolate Twist
For a rich twist on the classic, try adding chocolate chips or a ganache filling to your red velvet cupcakes. Mixing in semi-sweet chocolate chips gives a luxurious flavor and pairs perfectly with cream cheese frosting. You can even drizzle some chocolate ganache on top for that extra indulgence.
Vegan Red Velvet Cupcakes
If you're looking for a plant-based option, vegan red velvet cupcakes are easy to whip up! Substitute eggs with flaxseed meal or applesauce, and replace buttermilk with almond or soy milk mixed with a splash of vinegar. These cupcakes retain the signature color and flavor while being entirely compassionate. Check out [this resource] for more vegan baking tips!
Baking Notes for Red Velvet Cupcakes
Common pitfalls to avoid
When making red velvet cupcakes, one of the most common pitfalls is overmixing the batter. This can lead to dense cupcakes instead of the light and fluffy texture you’re aiming for. It's important to mix just until the ingredients are combined, especially after adding the dry mix and buttermilk. Additionally, be cautious with the baking time; overbaking can make your cupcakes dry. Always check for doneness with a toothpick!
How to achieve the perfect color
To achieve that iconic red velvet hue, opt for a high-quality liquid or gel red food coloring. Start with 1 tablespoon and gradually add more, mixing until you reach the desired shade. Remember, the color develops more as the cupcakes bake, so don’t be afraid if it looks a bit muted at first. If you prefer a more natural option, check out these natural food coloring alternatives.
Serving Suggestions for Red Velvet Cupcakes
Pairing with Beverages
When it comes to enjoying your red velvet cupcakes, the right beverage can elevate the experience. Consider pairing them with:
- Coffee: A rich cup of coffee complements the sweetness beautifully.
- Tea: Earl Grey or chai offer aromatic notes that balance the flavor.
- Milk: Classic and comforting; it’s the ultimate companion for any sweet treat.
Creative Plating Ideas
Make your red velvet cupcakes stand out at gatherings! Here are some fun plating ideas:
- Tiered Stands: Arrange cupcakes on a multi-tiered stand for a dramatic effect.
- Decorative Liners: Use vibrant cupcake liners to add a pop of color.
- Fresh Berries: Garnish with berries for a refreshing contrast.
Whether you're hosting a party or enjoying a quiet evening, these suggestions add a delightful touch to your red velvet cupcake experience.
Tips for Making Perfect Red Velvet Cupcakes
Importance of Proper Measuring Techniques
When baking red velvet cupcakes, accuracy is key! For the best results, always use proper measuring techniques. Spoon your flour into the measuring cup and level it off with a knife instead of scooping directly from the bag. This helps avoid dense cupcakes caused by excess flour. For added precision, consider using a kitchen scale—many baking enthusiasts swear by it!
How to Keep Your Cupcakes Moist
Moisture is crucial for delectable red velvet cupcakes. To achieve this, incorporate buttermilk into your batter; its acidity helps tenderize the cake. Don’t forget to mix your batter just until combined—overmixing can lead to dryness. Lastly, keep an eye on the baking time; remove your cupcakes as soon as a toothpick comes out clean to lock in moisture.
For more tips on measuring baking ingredients, check out Sally's Baking Addiction.
Time Breakdown for Red Velvet Cupcakes
Preparation time
Gathering your ingredients and whipping up the batter for these delightful red velvet cupcakes takes about 20 minutes. If you’re new to baking, take your time and enjoy the process—you'll appreciate it when those cupcakes come out of the oven!
Baking time
Once you've filled your cupcake liners, bake the cupcakes for 20 to 21 minutes. It’s just the right amount of time to transform your batter into perfectly moist and fluffy treats.
Cooling and frosting time
After baking, let your cupcakes cool in the pan for 5 minutes before transferring them to a wire rack. Allow them to cool completely—this takes an additional 20 minutes—before frosting with your favorite cream cheese frosting. Patience is key here; it’s worth the wait for that rich, decadent flavor!
Nutritional Facts for Red Velvet Cupcakes
Calories per cupcake
Each of these delightful red velvet cupcakes packs approximately 240 calories. Perfect for a sweet treat, this calorie count includes the lush cream cheese frosting, making them a fun indulgence without taking you off your health goals.
Sugar content
With about 18 grams of sugar per cupcake, these treats offer a balanced sweetness. While it’s always good to monitor sugar intake, enjoying one occasionally is a delightful way to treat yourself!
Key nutrients
Beyond sugar, red velvet cupcakes provide key nutrients such as calcium and vitamin A from the buttermilk and cream cheese frosting. Additionally, the eggs contribute protein, making these cupcakes a more balanced choice compared to other desserts.
For a deeper dive into cupcake nutrition, check out the USDA's food database for comprehensive information on the ingredients used!
FAQs about Red Velvet Cupcakes
How do I know when cupcakes are done baking?
Knowing when your red velvet cupcakes are done can make all the difference in achieving that perfect texture. Look for a few key indicators: the tops should spring back when gently pressed, and a toothpick inserted into the center should come out clean or with a few moist crumbs. Keep an eye on the bake time—usually around 20-21 minutes—and resist the urge to open the oven door too soon, as this can cause the cupcakes to collapse.
Can I use food coloring alternatives?
Absolutely! If you prefer a more natural option, consider using beet juice or pomegranate juice for a hint of color. However, keep in mind that these alternatives might alter the flavor slightly. For a no-color option, you can skip the food coloring altogether, and you’ll still have delicious cupcakes, albeit in a more muted shade.
What’s the best way to store leftover cupcakes?
To keep your red velvet cupcakes fresh, store them in an airtight container at room temperature for up to three days. If you have frosted cupcakes, it's best to refrigerate them for longer shelf life, but bring them back to room temperature before serving for a delightful taste experience. If you need to store them for an extended period, consider freezing them without frosting, wrapping them tightly in plastic wrap, and using a freezer-safe container. Thaw them before frosting and enjoying!
Conclusion on Red Velvet Cupcakes
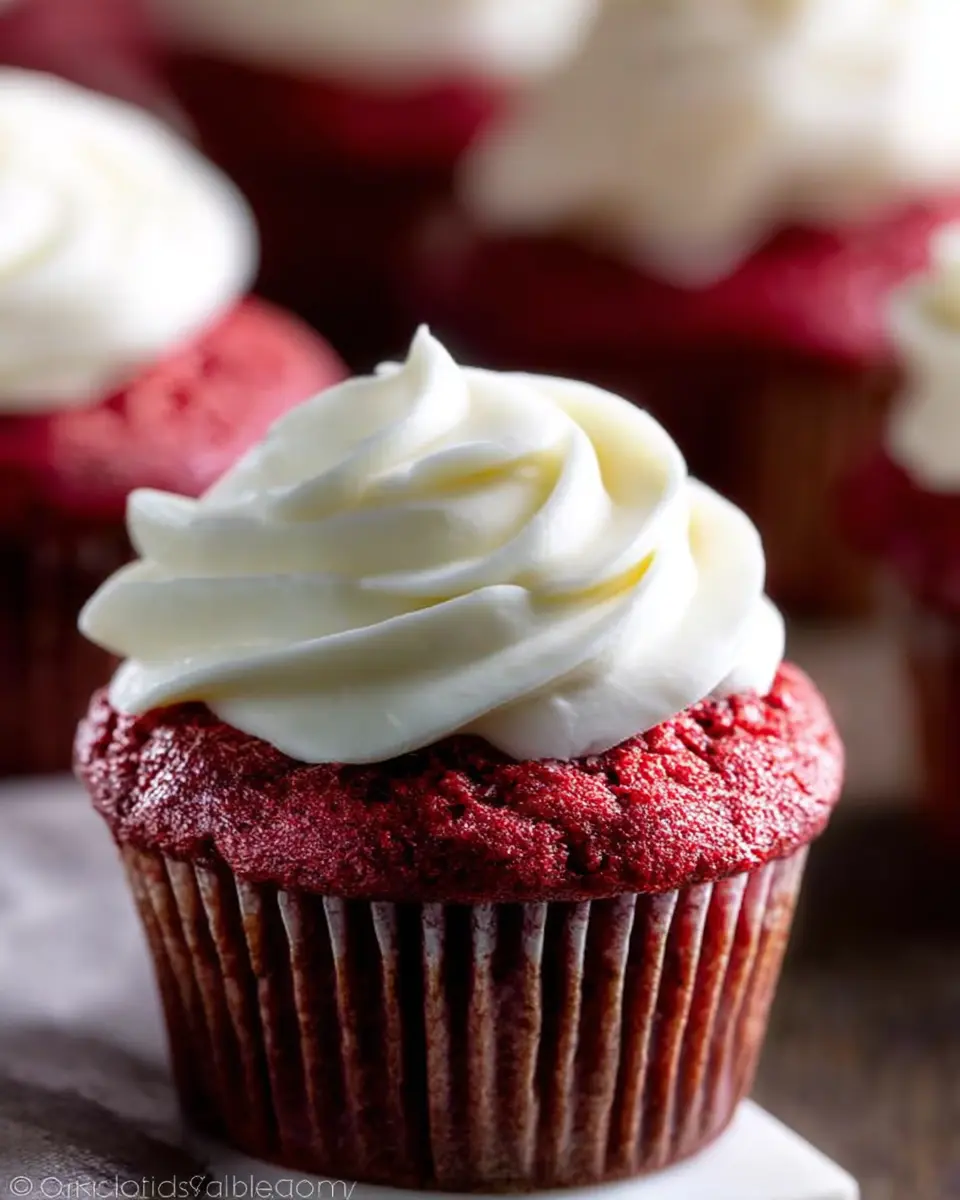
Red velvet cupcakes are not just a treat; they’re a slice of joy perfect for any occasion. Their rich flavor, soft texture, and vibrant color make them irresistible. Top them with luscious cream cheese frosting, and you'll find yourself reaching for seconds! Enjoy your baking adventure! For more delicious recipes, check out Sally’s Baking Addiction.
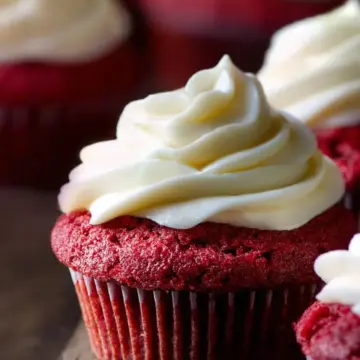
Red Velvet Cupcakes
Equipment
- Mixing Bowls
- mixer
- Cupcake liners
- cupcake pan
- Rubber spatula
- sifter
Ingredients
- 2 large eggs room temperature and separated
- 1.33 cups all-purpose flour spooned & leveled
- 0.25 cups cornstarch
- 0.5 teaspoon baking soda
- 4 teaspoons natural unsweetened cocoa powder
- 0.25 teaspoon salt
- 0.25 cups unsalted butter softened to room temperature
- 1 cups granulated sugar
- 0.5 cups canola or vegetable oil
- 2 teaspoons pure vanilla extract
- 0.5 teaspoon distilled white vinegar
- liquid or gel red food coloring
- 0.5 cups buttermilk room temperature
- cream cheese frosting for topping
Instructions
- Preheat oven to 350°F (177°C). Line a 12-count muffin pan with cupcake liners. This recipe makes 14 cupcakes, so you will have 2 cupcakes to bake in a 2nd batch.
- With a handheld or stand mixer fitted with a whisk attachment, beat 2 egg whites on high speed in a medium bowl until soft peaks form, about 2-3 minutes. Set aside.
- Sift the flour and cornstarch together to make sure it is evenly combined. Whisk this, along with baking soda, cocoa powder, and salt together in a medium bowl. Set aside.
- Using a handheld or stand mixer fitted with a paddle attachment, beat the butter on high speed until smooth and creamy—about 1 minute. Add the sugar and beat on high speed for 2 minutes until creamed together fairly well. Scrape down the sides and up the bottom of the bowl with a silicone spatula as needed. Add the oil and beat on high for 2 minutes.
- Add 2 egg yolks and the vanilla. Beat on medium-high speed until combined. Scrape down the sides and up the bottom of the bowl with a rubber spatula as needed. Beat in the vinegar and the food coloring, until you reach your desired color.
- With the mixer on low speed, add the dry ingredients in three additions alternating with the buttermilk, beginning and ending with the dry ingredients, and mixing each addition just until incorporated. Do not overmix.
- Fold whipped egg whites into cupcake batter with a rubber spatula or wooden spoon. Spoon batter into cupcake liners filling ½ – ⅔ of the way full.
- Bake for 20-21 minutes or until the tops of the cupcakes spring back when gently touched and a toothpick inserted in the center comes out clean. Allow to cool in the pan for 5 minutes, then transfer to a rack to cool completely.
- Prepare cream cheese frosting. Frost cooled cupcakes immediately before serving.
Leave a Reply