
Introduction to Danish Butter Cookies
Baking Danish Butter Cookies is more than just a recipe; it’s a delightful journey into the heart of traditional Danish cuisine. With their rich, buttery flavor and melt-in-your-mouth texture, these cookies epitomize comfort and indulgence. Perfect for sharing with friends or enjoying during your well-deserved tea break, they embody the art of simple yet extraordinary homemade treats.
Why Danish Butter Cookies are the Perfect Homemade Treat
What makes Danish Butter Cookies stand out? For one, their versatility shines in any occasion—be it a cozy family gathering or a festive holiday celebration. The blend of quality ingredients like European salted butter and vanilla creates a cookie that pleases even the pickiest of palates.
Moreover, the straightforward recipe means you don’t need to be a baking expert to impress your loved ones. Whether you pipe charming shapes or opt for classic rounds, the outcome is just as delightful. And let's not forget about the delightful, satisfying crunch paired with a soft interior—it's a bite you'll long remember.
So, join me in exploring this irresistible cookie recipe that promises warmth, nostalgia, and the sweet aroma of home baking. Ready to dive in? Let’s make some delectable Danish Butter Cookies!
Ingredients for Danish Butter Cookies
Baking your own Danish Butter Cookies is a delightful way to warm up any day. Here’s what you’ll need to create these deliciously rich, buttery treats that practically melt in your mouth.
- European Salted Butter: 1 cup (227 g) at room temperature is crucial for that smooth texture.
- Granulated Sugar: ½ cup (100 g) to add the perfect sweetness.
- Salt: Just a pinch (⅛ teaspoon) enhances those buttery flavors.
- Egg Yolks: 2 large yolks give richness and a lovely color.
- Vanilla Extract: 2 teaspoons (10 g) for that unmistakable aroma.
- Whole Milk: 1 tablespoon (15 g), or more if you need to soften the dough.
- All-Purpose Flour: 2 cups (220 g) to create a sturdy base.
- Cake Flour: ½ cup (50 g) for extra tenderness.
- Coarse Sugar: A sprinkle on top for beautiful decoration.
With these simple yet high-quality Danish Butter Cookies ingredients, you're on your way to crafting a delightful treat loved by all. Want to get those ingredients? Check your local stores or look online for reliable suppliers to find the best options!
Preparing Danish Butter Cookies
Making Danish Butter Cookies is a delightful experience that can fill your kitchen with warm, buttery aromas. Let’s dive into the step-by-step process to create these melt-in-your-mouth treats!
Prepare Your Workspace
Before you start baking, it's essential to create an organized workspace. Clear a reliable surface, possibly your kitchen counter, and gather all your ingredients. You will need:
- Room temperature butter
- Granulated sugar
- Egg yolks
- Vanilla extract
- Milk
- All-purpose and cake flour
- Coarse sugar for decoration
Make room in your refrigerator for a baking sheet. Chilling your piped cookies for 20-30 minutes will help them maintain their shape during baking.
Creaming the Butter and Sugar
Once your workspace is ready, it’s time to bring out the stand mixer! Add the room temperature butter to the bowl and beat it on medium speed until it's smooth and creamy. With the mixer still running, gradually add in the sugar and a tiny pinch of salt. Continue mixing until the mixture becomes light and fluffy—this is crucial for the texture of your cookies!
Adding Eggs, Vanilla, and Milk
As the mixture blends, it's time to incorporate the egg yolks, vanilla extract, and milk. These ingredients not only enhance flavor but also add moisture. Mix on medium speed until everything is well combined, and don’t forget to scrape down the sides to ensure even mixing.
Mixing the Dry Ingredients
In a separate bowl, whisk together the all-purpose and cake flour. Gently add this dry mixture to your wet batter in two parts. Mix on low speed just until incorporated, being careful not to overmix. If your cookie batter feels too thick to pipe, add a tablespoon more of milk to reach the desired consistency.
Piping the Cookies
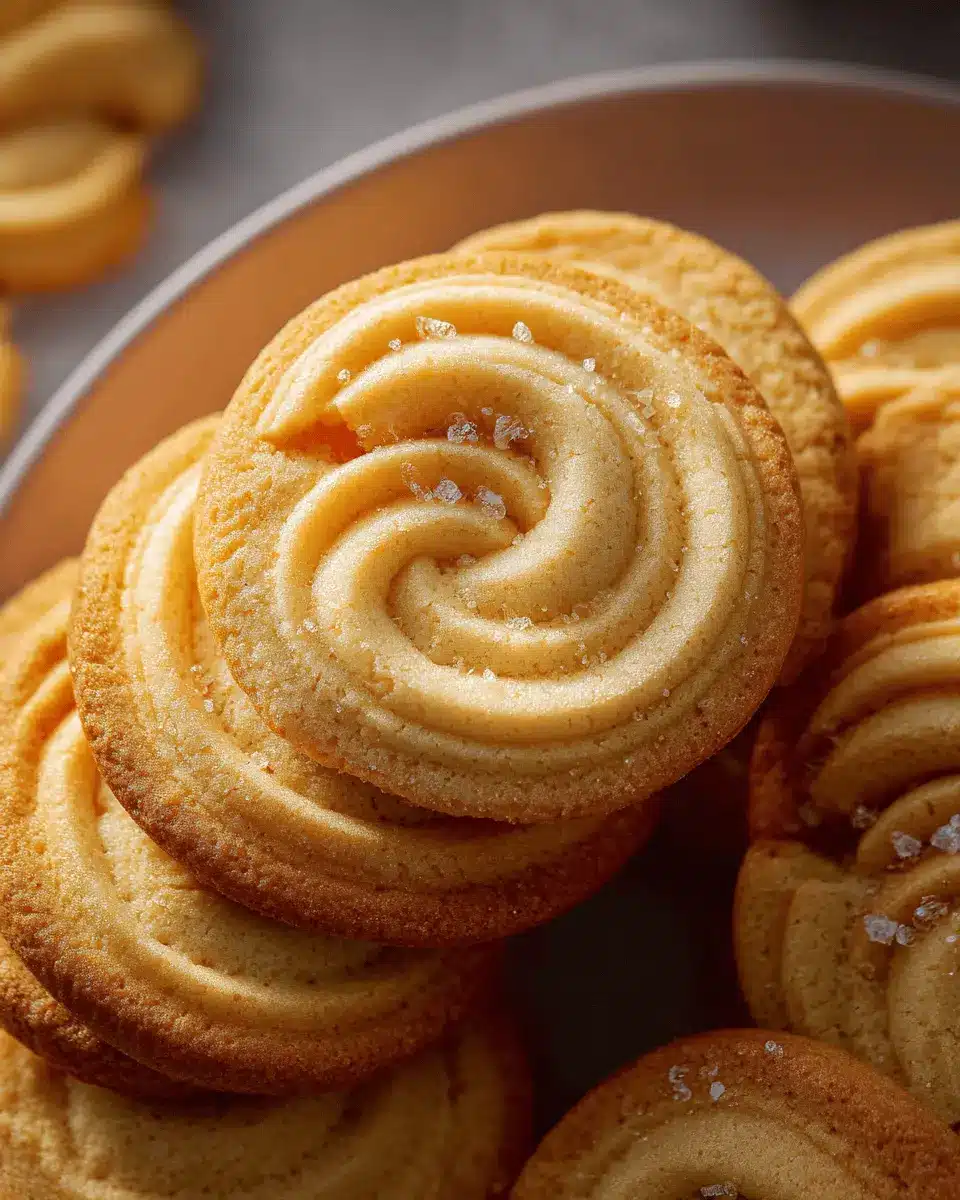
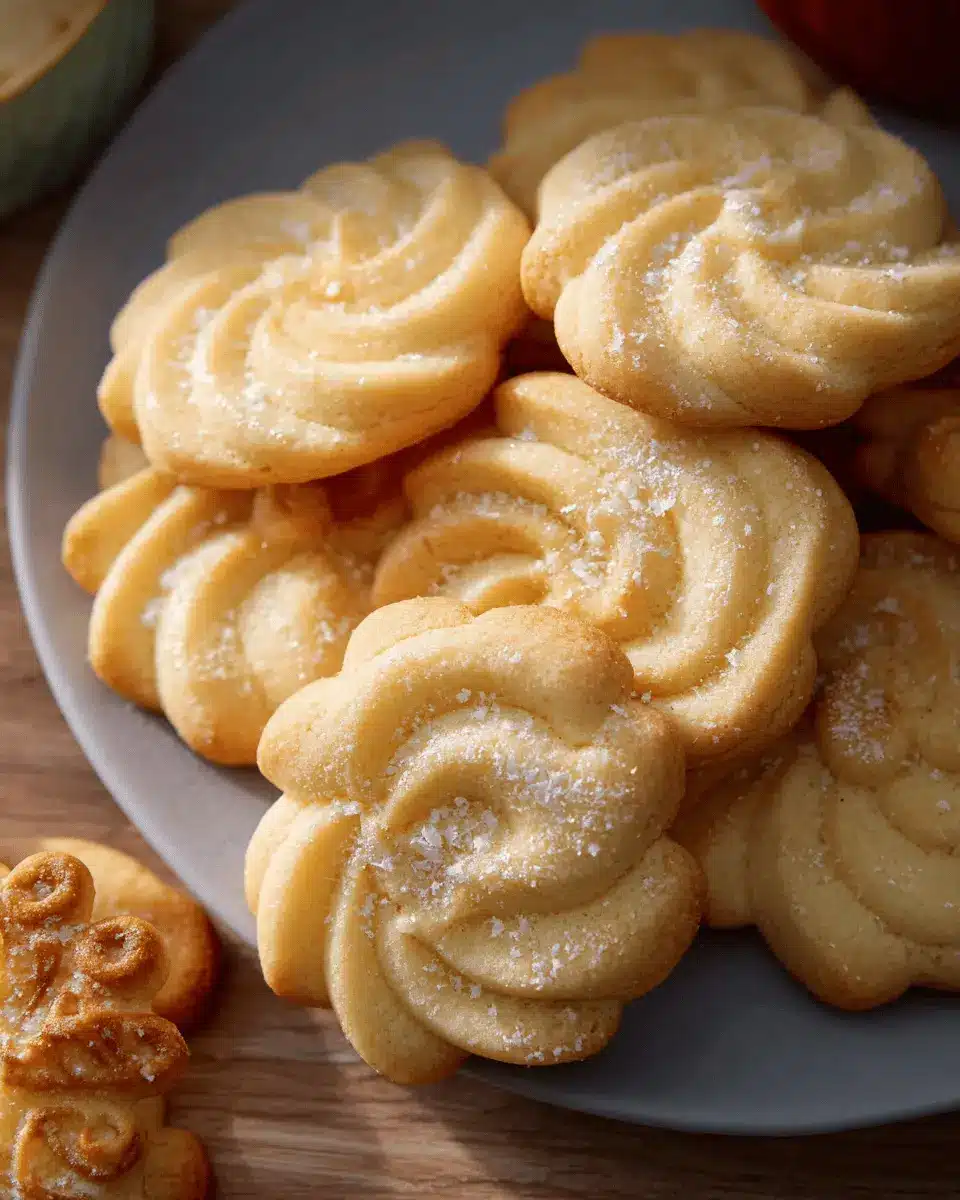
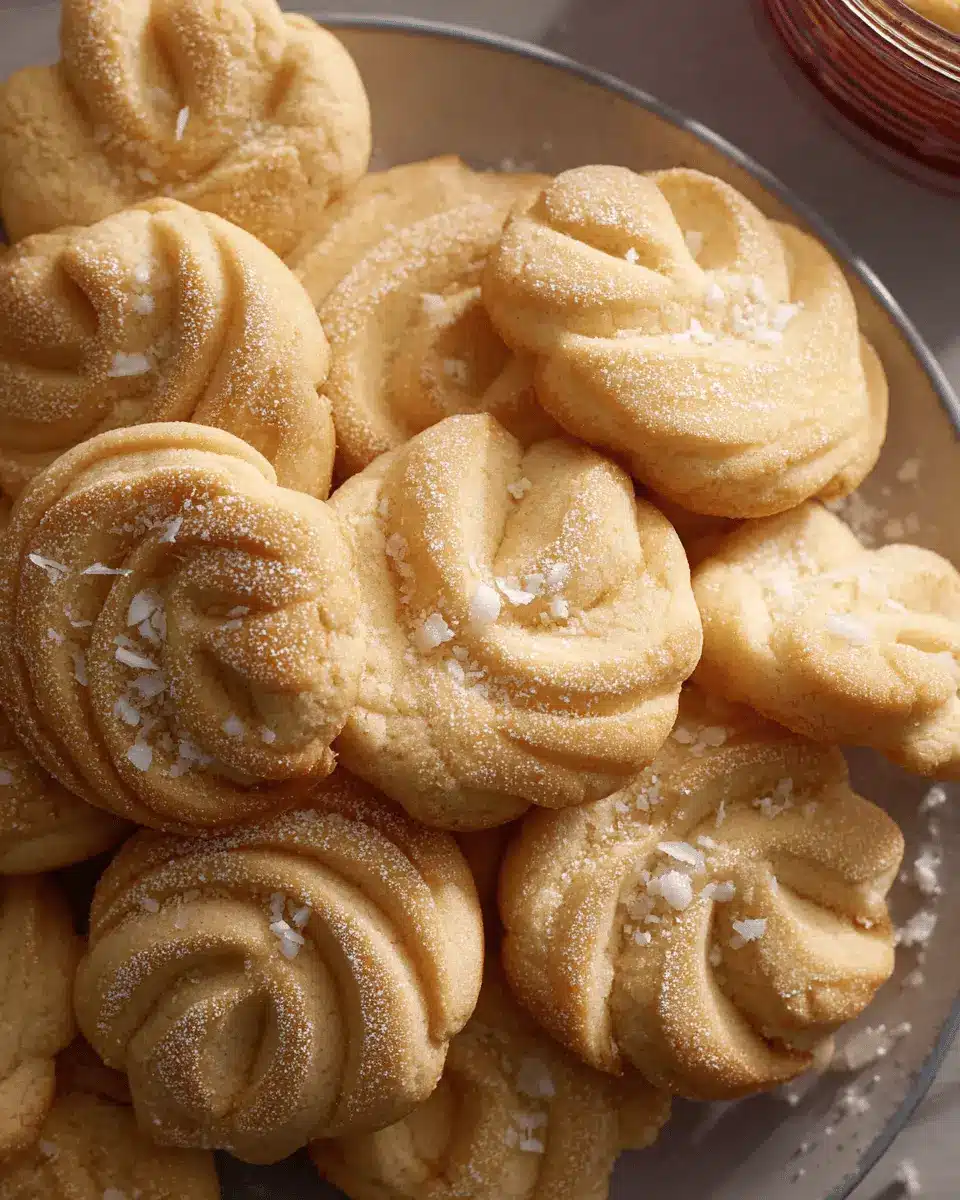
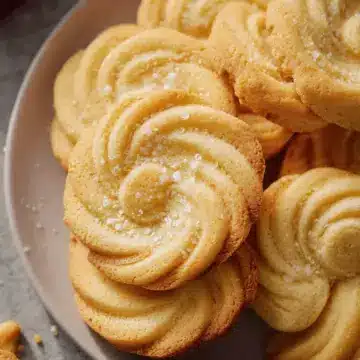
Now comes the fun part—piping the cookies! Transfer your batter to a piping bag fitted with a ½-inch star tip. Pipe out various shapes (think rosettes, circles, or twists) onto your prepared baking sheets, spacing them about 2 inches apart to allow room for spreading. If you want to add a festive touch, sprinkle some coarse sugar or colorful sprinkles on top.
Prepping for Baking
Before slipping your cookie sheets into the oven, chill the cookies in the refrigerator for another 20-30 minutes. This step helps maintain their shape while baking. While they chill, preheat your oven to 350°F and make sure your baking rack is in the center.
Baking the Cookies
Finally, the moment of truth! Bake your Danish Butter Cookies for 10-15 minutes, watching closely for that golden brown edge. Once baked, let the cookies cool for about 5 minutes on the baking sheet so they can firm up before transferring them to a wire rack to cool completely.
These Danish Butter Cookies are not just delightful treats but also perfect for sharing with friends and family! Whether enjoyed alongside a cozy cup of tea or presented at a gathering, these cookies are sure to impress. Happy baking!
Variations on Danish Butter Cookies
Chocolate-Dipped Danish Butter Cookies
Elevate your Danish Butter Cookies by dipping them in luscious melted chocolate! Just melt your favorite dark or milk chocolate, then dip half of each cookie for a delightful twist. For an added crunch, sprinkle chopped nuts or sea salt before the chocolate sets. This variation combines the classic buttery flavor with a rich chocolate experience, making them perfect for gifting or serving at parties.
Festive Sprinkles Danish Butter Cookies
Want to add a touch of color to your Danish Butter Cookies? Before baking, sprinkle colorful, festive toppings on each piped cookie. This simple addition not only enhances the visual appeal but also provides a delightful crunch. Use seasonal sprinkles for birthdays or holidays, making these cookies a delightful treat for every occasion. You can find a variety of festive sprinkles at your local grocery or check out this sprinkle guide for inspiration!
These creative variations are just a few ways to personalize your delicious Danish Butter Cookies!
Baking Notes for Danish Butter Cookies
When making Danish Butter Cookies, attention to detail ensures that your baking endeavor is a triumphant success. Here are some essential notes:
-
Room Temperature Ingredients: Allow your butter and eggs to reach room temperature before mixing. This creates an airier texture and better emulsification.
-
Measuring Flour: Accurately measuring flour is vital. Using a kitchen scale minimizes the risk of adding too much. If using cups, aerate the flour first and level it off carefully.
-
Chill for Best Results: Don’t skip the chilling step! It prevents the cookies from spreading too much, helping them maintain their delightful shape.
With these tips, you’ll be well on your way to crafting perfect Danish Butter Cookies that are sure to impress your friends and family! For more insights, check out this informative article on baking techniques.
Serving Suggestions for Danish Butter Cookies
When it comes to enjoying your Danish Butter Cookies, the possibilities are endless! Here are some delightful serving suggestions to elevate your cookie experience:
-
Pair with a cup of tea or coffee: Enjoy these buttery delights with your favorite brew, whether it’s green tea, espresso, or a creamy cappuccino. The contrasting flavors enhance the rich taste of the cookies.
-
Create a dessert platter: Arrange Danish Butter Cookies alongside fresh fruits, chocolate truffles, or even your favorite cheeses for a beautiful dessert spread that impresses guests.
-
Top with spreads: A light smear of jam or nut butter can add a delicious twist. Try pairing your cookies with raspberry preserves or almond butter for an indulgent treat.
Feel free to get creative! How do you like to serve your Danish Butter Cookies? Share your ideas!
Tips for Making Perfect Danish Butter Cookies
Creating Danish Butter Cookies that perfectly melt in your mouth is easier than you think! Here are some essential tips:
-
Use Quality Ingredients: Start with high-quality European salted butter. It adds richness and flavor that makes all the difference.
-
Don’t Skip Chilling: After piping, let the cookies chill in the fridge for 20-30 minutes. This step prevents them from spreading too much during baking.
-
Mind the Baking Time: Keep a close eye as the cookies bake. You want the edges to be just lightly golden, ensuring a soft, buttery texture.
-
Experiment with Shapes: Use different piping tips to create unique designs. Have fun with your Danish Butter Cookies!
Following these tips will elevate your baking game and leave your friends and family coming back for more! For more insights, check out this comprehensive guide on cookie baking.
Time Breakdown for Danish Butter Cookies
When it comes to making delicious Danish Butter Cookies, timing is everything. Here's a simple breakdown to plan your baking session effectively.
Preparation Time
Get started with about 15-20 minutes to cream the butter and mix in the ingredients. It's a straightforward process where you blend flavors and textures.
Chilling Time
Don't skip this step! Chill the piped cookies in the refrigerator for 20-30 minutes. This helps maintain their shape during baking, resulting in beautifully formed cookies.
Baking Time
Pop your cookies in the oven for 10-15 minutes. Keep an eye on them until the edges turn just lightly golden brown, achieving that perfect bite.
Total Time
From prep to baking, you'll be looking at around 1 hour to 1 hour and 10 minutes to enjoy your delightful Danish Butter Cookies! It’s totally worth the wait. Happy baking!
For additional baking tips, check out resources like King Arthur Baking for expert advice!
Nutritional Facts for Danish Butter Cookies
When you indulge in Danish Butter Cookies, it’s helpful to know what you’re treating yourself to! Here’s a quick breakdown of their nutritional profile:
Calories per Cookie
Each cookie contains approximately 374 calories. Perfect for a sweet treat that won’t derail your day!
Protein Content
You’ll also gain about 11g of protein per cookie, thanks to the inclusion of egg yolks, making these goodies not just tasty, but a little nourishing too!
Sugar Levels
With approximately 7g of sugar in each cookie, they satisfy your sweet tooth without going overboard. Enjoy in moderation, and savor each bite!
For more details on nutrition or to explore healthier baking substitutes, feel free to check out the USDA FoodData Central for comprehensive food insights.
FAQs about Danish Butter Cookies
How can I make my cookies extra crispy?
To achieve a delightful crunch in your Danish Butter Cookies, consider using a combination of all-purpose flour and cake flour, which gives a satisfying texture. Additionally, baking until the edges are just lightly golden brown will enhance crispiness. For an extra touch, try leaving the cookies on the baking sheet for a few minutes before transferring them to a cooling rack.
What’s the best way to store Danish Butter Cookies?
Storage is key to keeping your Danish Butter Cookies fresh. Place them in an airtight container at room temperature for up to five days. If you want to extend their shelf life, consider freezing them in a sealed container for up to three months. Just remember to thaw them before enjoying!
Can I freeze Danish Butter Cookie dough?
Absolutely! Freezing the un-baked dough is a convenient option. Shape the cookies, then wrap them tightly and freeze for up to three months. When you're ready to bake, simply pop them straight into the oven without thawing—just add a couple of extra minutes to the baking time. Enjoy a fresh batch whenever you crave!
Conclusion on Danish Butter Cookies
Danish Butter Cookies are a delightful treat perfect for any occasion. Their crisp, buttery texture pairs beautifully with a cup of tea or coffee. Once you master this simple recipe, you can explore various shapes and decorations. Enjoy making and sharing these treats with friends and family—happy baking!
Danish Butter Cookies
Equipment
- stand mixer
- piping bag
- baking sheets
- Parchment paper
- Whisk
Ingredients
Base Ingredients
- 1 cup European salted butter room temperature
- ½ cup granulated sugar
- ⅛ teaspoon salt
- 2 large egg yolks
- 2 teaspoons vanilla extract
- 1 tablespoon whole milk or more to soften
- 2 cups all-purpose flour
- ½ cup cake flour
- coarse sugar for decorating
Instructions
Preparation
- Make room in your refrigerator for a baking sheet so the shaped cookies can chill for 20-30 minutes. Line two baking sheets with parchment paper or a silicone baking mat.
- In the bowl of a stand mixer fitted with a paddle attachment, cream butter on medium speed until smooth. Slowly add in sugar and salt with the mixer still running on low.
- Add egg yolks, vanilla, and milk while mixing. Continue to mix on medium speed until well combined.
- In a medium-sized mixing bowl, whisk the flour and cake flour. Add flour mixture to mixer in two additions, mixing on low speed until no traces of flour remain.
- Transfer cookie batter to a large piping bag and pipe 2-inch cookies on the prepared baking sheet, spacing them at least 2 inches apart. Chill in the refrigerator for 20-30 minutes.
- Preheat oven to 350°F. Make sure the baking rack is in the middle of the oven.
- Bake for 10-15 minutes or until the edges are lightly golden brown. Let cool on the baking sheet for 5 minutes before transferring to a wire rack.
Leave a Reply