
Introduction to Halloween Pretzels
Why are Halloween pretzels a fun treat?
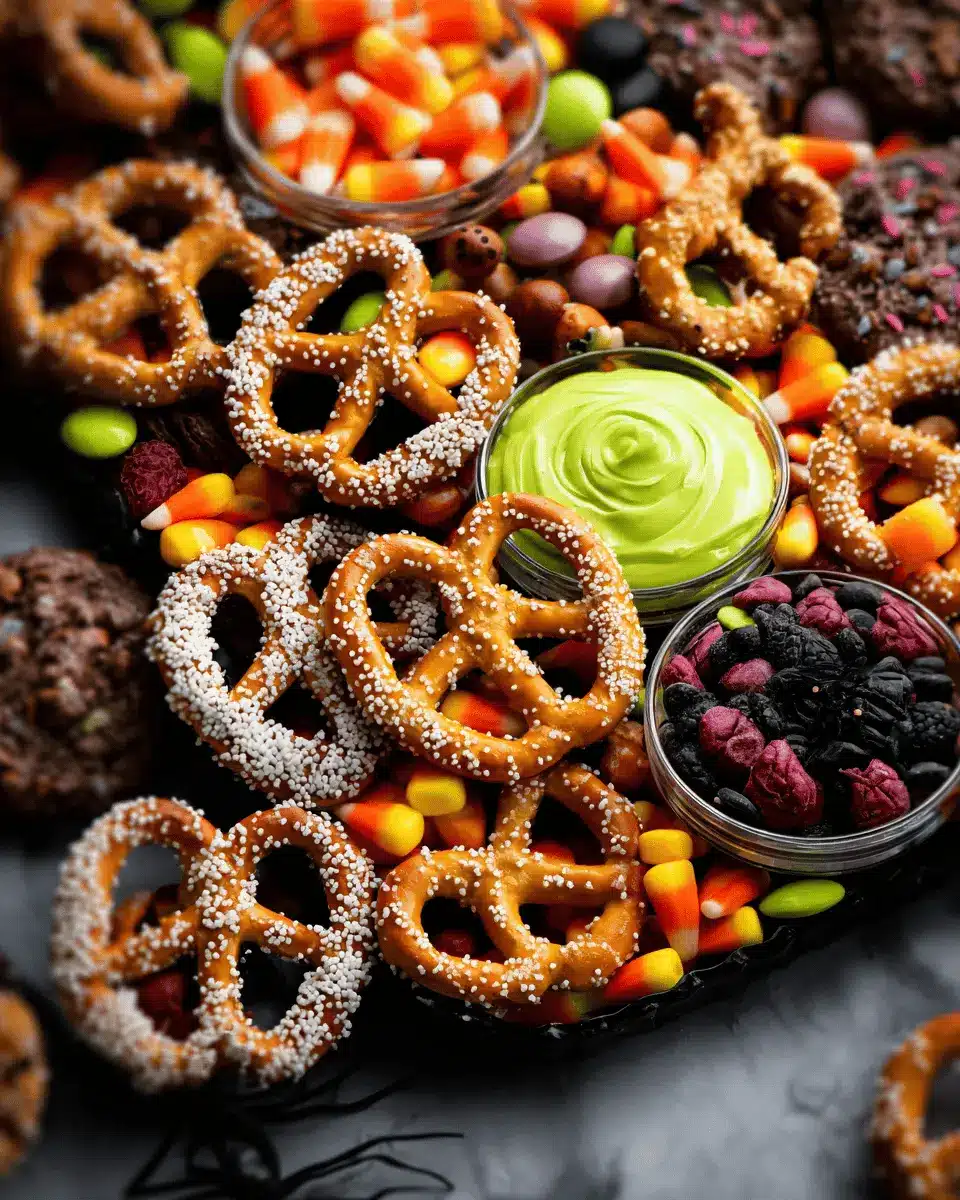
Halloween pretzels are the perfect combination of salty, sweet, and spooky, making them an irresistible treat for any celebration. These delightful snacks not only please the palate but also engage the imagination, allowing you to unleash your creativity with colorful candy melts and festive sprinkles. With so many variations, they can cater to various dietary needs—feel free to use gluten-free pretzels for an inclusive experience. Plus, making these fun snacks can turn into a delightful family activity, fostering connections and creating lasting memories.
A little story about my first batch of Halloween pretzels
I’ll never forget my first attempt at making Halloween pretzels. The kitchen was a whirlwind of colors as I melted orange and black candy melts, eagerly anticipating the magic. My younger sibling joined in, adding an extra sprinkle of chaos (and sprinkles!) to the process. We dipped the pretzels, adorned them with candy eyes, and piled on Halloween-themed sprinkles. Watching our creations harden felt like waiting for a pot of gold at the end of the rainbow. They turned out to be such a hit that by the end of the night, barely any remained! That experience opened up a world of sweet possibilities and solidified Halloween pretzels as a yearly tradition in our home.
For more insights into Halloween festivities, check out this link on Halloween's rich history!
Ingredients for Halloween Pretzels
When it comes to crafting the perfect Halloween pretzels, you'll want to gather a few essential ingredients that will serve as your base. Let's dive right in!
Essential ingredients you'll need
- Mini pretzels: Choose either twists or rods based on your preference. These will be your treat's canvas!
- Candy melts: Stock up on white, orange, and black for that festive flair. These colorful melts bring life (and sweetness!) to your pretzels.
- Halloween sprinkles: Get creative with shaped sprinkles or traditional ones to add a dash of fun.
- Candy eyes: These little guys will give your pretzels personality and a spooky touch.
- Parchment paper: This will ensure easy cleanup and prevent sticking.
Optional ingredients for extra flair
- Crushed Oreos: Add this for a chocolatey crunch that your guests will love. They’re also great for creating a ghostly effect when sprinkled on top.
With these ingredients in hand, you’ll be all set to whip up a Halloween treat that’s sure to vanish faster than you can say "trick or treat!" If you’re on the lookout for more tips on how to decorate, check out our helpful guides on baking basics or Halloween party planning.
Preparing Halloween Pretzels
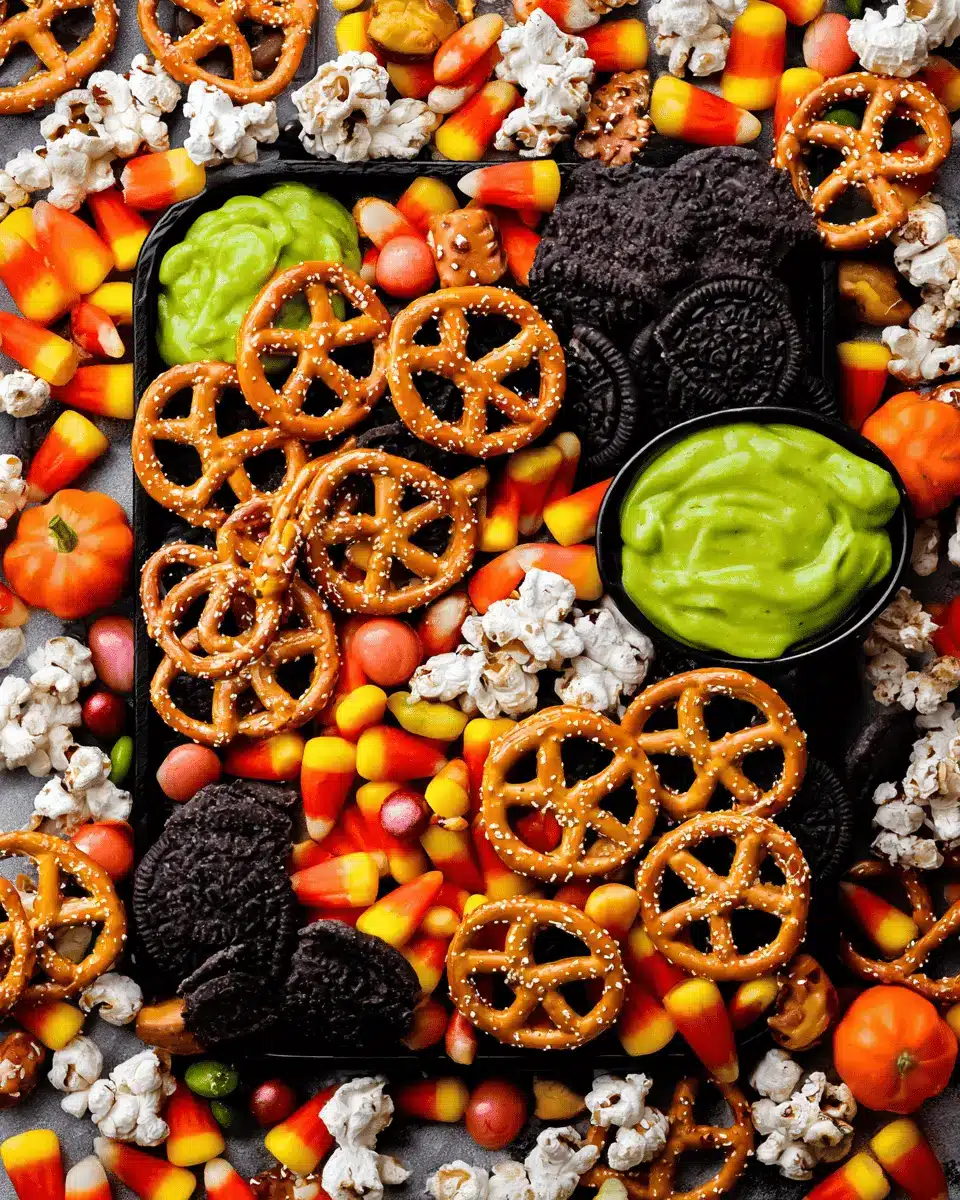
Halloween festivities wouldn't be complete without a delightful treat that combines that sweet and salty crunch. Let’s dive into the delightful process of creating these Halloween pretzels, which will definitely steal the spotlight from all the other sweet options at your Halloween gathering.
Line your baking sheet
First things first, let's prep our workspace. Grab a baking sheet and line it with parchment paper. Not only does this make cleanup a breeze, but it also prevents the pretzels from sticking. As you work, it's essential to have everything ready to go because the melting process requires a bit of speed. Parchment paper is your magical tool here, keeping those delicious Halloween pretzels intact and easy to lift off once they’re finished.
Melting the candy melts
Next up, it’s time for the candy melts! Choose your favorite colors like classic white, vibrant orange, or spooky black (or all three for a festive flair). To melt them, follow the package instructions—typically, this means microwaving them in short bursts of 30 seconds and stirring in between. It’s important to watch closely; you want them silky and smooth, not clumpy or burnt. If you’re feeling adventurous, you can even mix in a little vegetable oil to make the melted candy even smoother for dipping.
Dipping or drizzling the pretzels
Now for the fun part—dipping! Thoroughly submerge each pretzel in the melted candy, allowing the excess to drip back into the bowl. You can either coat the entire pretzel or just drizzle it creatively for a more playful look. Using a fork is a great way to get even coverage while keeping your hands mess-free. And if you’ve taken the drizzling route, don’t hesitate to get artistic!
Adding sprinkles and candy eyes
Before the melted candy starts to set, it’s time to add some festive touches. In this step, sprinkle your favorite Halloween sprinkles generously over the pretzels. Whether you’ve got tiny pumpkins, ghosts, or colored sugar, make them come alive! Don’t forget to add those adorable candy eyes to turn your pretzels into little monsters. Just imagine the fun of presenting these to your friends—who can resist a cute monster?
Letting the pretzels set
Once decorated, place your baking sheet in a safe spot and let the Halloween pretzels sit undisturbed until the candy has fully hardened, which usually takes about 15 minutes. If you're in a hurry, a quick stint in the fridge can speed up this process. But be sure they’re at room temperature before you dive in, so they don’t melt in your hands!
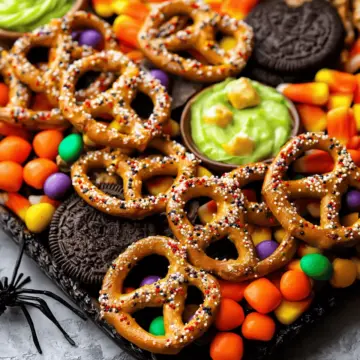
These mouthwatering Halloween pretzels add a festive touch to any Halloween gathering and are super fun to make, especially with family or friends. Enjoy this sweet and salty treat that’s sure to disappear faster than the candy bowl!
Variations on Halloween Pretzels
Spooky Peanut Butter Pretzels
If you're a fan of the rich, creamy texture of peanut butter, you'll love these spooky peanut butter pretzels. Start with your favorite pretzels, dip them in melted candy melts, and then drizzle a generous helping of peanut butter on top. Don't forget to sprinkle on Halloween-themed toppings! This peanut butter twist adds a delightful flavor contrast and satisfies that sweet-salty craving. Plus, it’s a fun way to get creative in the kitchen!
Gluten-Free Halloween Pretzels
Don’t worry, Halloween can be delicious for everyone! Substitute mini pretzels with gluten-free varieties to make your Halloween pretzels accessible to all your friends. If you’re unsure where to find gluten-free options, check your local grocery store or explore brands like Glutino or Snyder’s. Follow the same melting and decorating steps, and you’ll have a stunning platter that everyone can enjoy. These no-guilt treats are sure to disappear fast!
Cooking Tips and Notes for Halloween Pretzels
Choosing the Right Type of Pretzels
When making Halloween pretzels, consider whether you prefer the crunch of mini twists or the sturdiness of rods. Mini twists are fantastic for bite-sized delights, while rods provide an excellent canvas for drizzling. If you want a gluten-free option, there are plenty of delicious gluten-free pretzels available. This ensures everyone can enjoy your festive treats!
Tips for Melting Candy Melts
To achieve a smooth consistency, melt your candy melts gently. Use a microwave-safe bowl and heat in 30-second intervals, stirring in between. This prevents overheating and seizing. If the melts feel too thick, a teaspoon of coconut oil can help thin them out, giving your Halloween pretzels a glossy finish. For even melting, consider using a double boiler for better control.
Looking for more ideas? Check out this guide on melting chocolate for additional tips!
Serving suggestions for Halloween Pretzels
Creative ways to present your pretzels
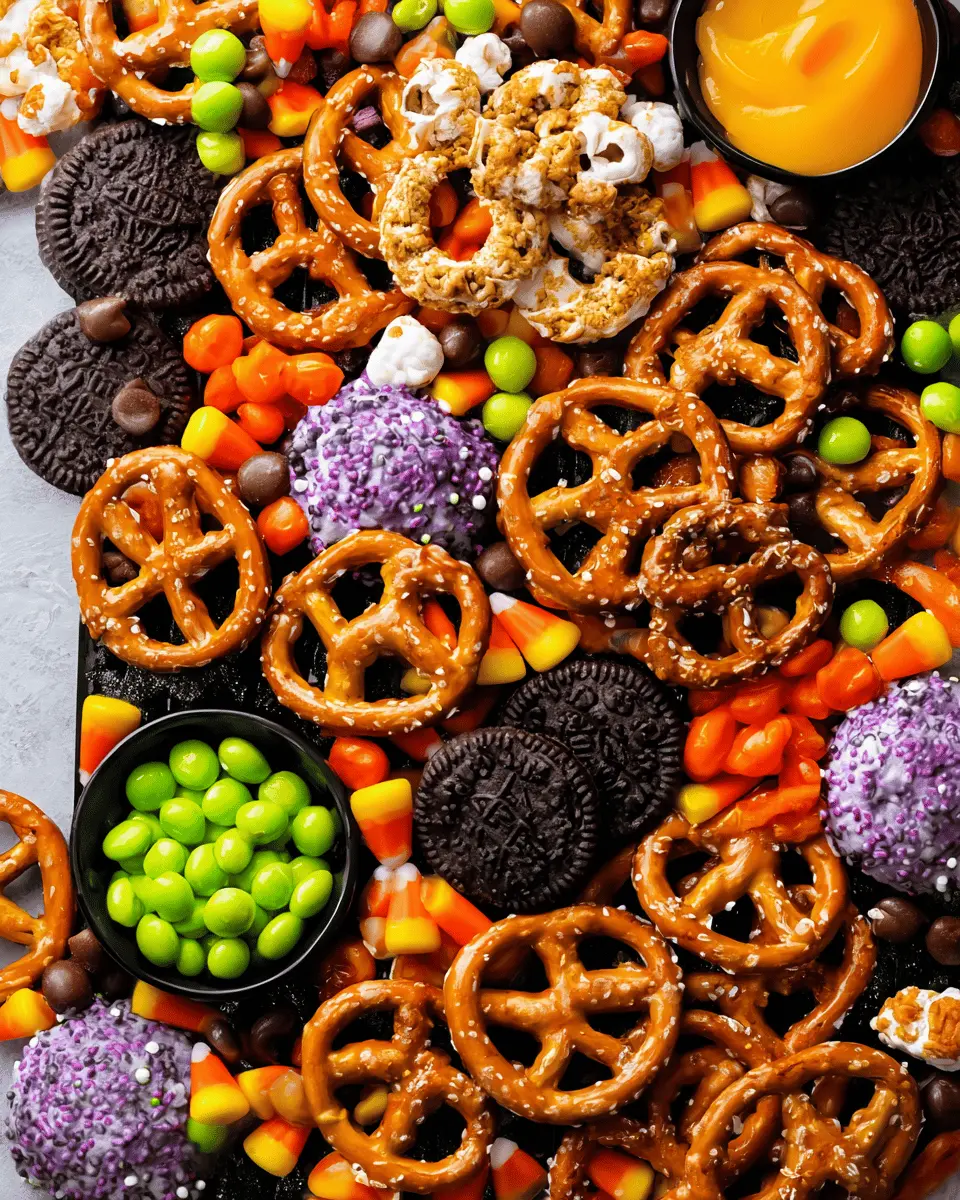
Transform your Halloween pretzels into a festive centerpiece! Use a decorative bowl or a spooky platter lined with Halloween-themed napkins. Arrange the pretzels in varying heights using small jars or cupcake stands for eye-catching height variation. For an extra touch, consider labeling each type with playful names like "Witch's Broomsticks" or "Monster Munchies."
Great activities to accompany your treat
Make your Halloween gathering unforgettable by pairing your pretzels with fun activities. Set up a pretzel decorating station where guests can customize their treats with an array of toppings. Alternatively, host a spooky movie marathon and enjoy your delicious pretzels while watching classics like "Hocus Pocus" or "Ghostbusters." These simple yet engaging ideas will keep the Halloween spirit alive and make your pretzels the star of the show!
Time Breakdown for Halloween Pretzels
Preparation Time
Get ready to have some fun! The preparation time for these Halloween pretzels is about 10 minutes. It’s all about gathering your ingredients and lining your baking sheet with parchment paper.
Assembly Time
Once your ingredients are in place, the assembly time is around 20 minutes. This is where the real creativity happens—dipping, drizzling, and decorating those pretzels to perfection!
Total Time
In just half an hour, you can whip up these festive treats! With a total time of approximately 30 minutes, you’ll be ready to enjoy or share your spooky snacks in no time.
For more fun ideas, consider checking out additional recipes on family-friendly cooking websites to keep the spirit alive this Halloween!
Nutritional Facts for Halloween Pretzels
Estimated Calories per Serving
These delightful Halloween pretzels bring festive fun with an approximate 150 calories per serving. Of course, this can vary based on the amount of candy melts and toppings used, so feel free to adjust according to your own preferences and enjoy guilt-free indulgence!
Overview of Key Nutrients
Beyond their fun appearance, Halloween pretzels contribute essential nutrients, providing a modest amount of carbohydrates for energy. They also include small amounts of calcium from the candy melts, which is essential for bone health. Consider using gluten-free pretzels for a healthier variation and add a sprinkle of crushed Oreos for added fiber, making this treat not only tasty but a little more nutritious. For more insights, you might explore resources on candy nutrition at Healthline or Verywell Fit.
FAQs about Halloween Pretzels
How can I store my Halloween pretzels?
To keep your Halloween pretzels fresh and tasty, store them in an airtight container. This not only prevents them from becoming stale but also keeps the decorations intact. If you have a lot of treats, consider using layers of parchment paper between each layer of pretzels to avoid sticking.
Can I make Halloween pretzels in advance?
Absolutely! One of the best things about Halloween pretzels is that they can be made in advance, making them perfect for parties and gatherings. Simply prepare them a day or two beforehand and store them as mentioned above. They’ll be waiting in the pantry when you’re ready to celebrate!
What are some creative toppings I can use?
Get creative with your toppings! Aside from the classic Halloween sprinkles and candy eyes, consider using:
- Crushed Oreos: For a spooky, dark twist
- Colored sugar: To match your party theme
- Nuts or pretzel pieces: For added crunch
- Drizzled chocolate: For extra sweetness
Feel free to experiment—let your imagination guide you. Want to know more about impressing your friends with these treats? Check out this article for fresh ideas!
Conclusion on Halloween Pretzels
Wrapping up the Halloween pretzel fun!
Halloween pretzels are not just treats; they’re a delightful experience for all ages. With simple ingredients and endless decorating possibilities, these sweet and savory snacks will surely become a favorite during the spooky season. Gather your friends, unleash your creativity, and enjoy these festive bites!
Halloween pretzels that’ll disappear before the candy rush
Equipment
- baking sheet
- microwave
- Spatula
Ingredients
Pretzel Ingredients
- 1 bag Mini pretzels (twists or rods) Gluten-free option available
- 1 cup Candy melts (white, orange, black)
- 1 cup Halloween sprinkles
- 1 cup Candy eyes
- 1 cup Crushed Oreos Optional topping
- 1 sheet Parchment paper
Instructions
Preparation Steps
- Line a baking sheet with parchment paper.
- Melt candy melts according to package instructions.
- Dip pretzels or drizzle melted candy over them.
- Add sprinkles, candy eyes, or toppings before the candy sets.
- Let sit until fully hardened, about 15 minutes.
- Store in an airtight container.
Leave a Reply